20 Natural Hairstyles for Black Women
Natural hair is not one look. It is a whole language — coils that spring, curls that clump, afros that fill a room, twists that hold for weeks. For Black women, wearing your texture as it grows is both a style choice and a statement: no relaxer, no apology, just hair doing exactly what it…
Natural hair is not one look. It is a whole language — coils that spring, curls that clump, afros that fill a room, twists that hold for weeks. For Black women, wearing your texture as it grows is both a style choice and a statement: no relaxer, no apology, just hair doing exactly what it was made to do.
The best natural hairstyles for Black women work with your curl pattern, not against it. Some show off definition, some chase volume, some buy you two weeks of low-effort mornings. The trick is matching the style to your texture, your length, and how much time you actually want to spend on wash day.
These 20 natural hairstyles for Black women cover every texture and every mood — wash-and-go curls, big afros, neat twists, heat-free stretch, and one very good silk press. Whether you are newly natural or have been curl-proud for years, there is a style here with your name on it. And if you want more ideas that hold up well past wash day, these natural hairstyles are full of looks built to last.

1. The Classic Wash-and-Go
Wet hair, product, and patience — the purest form of natural styling.
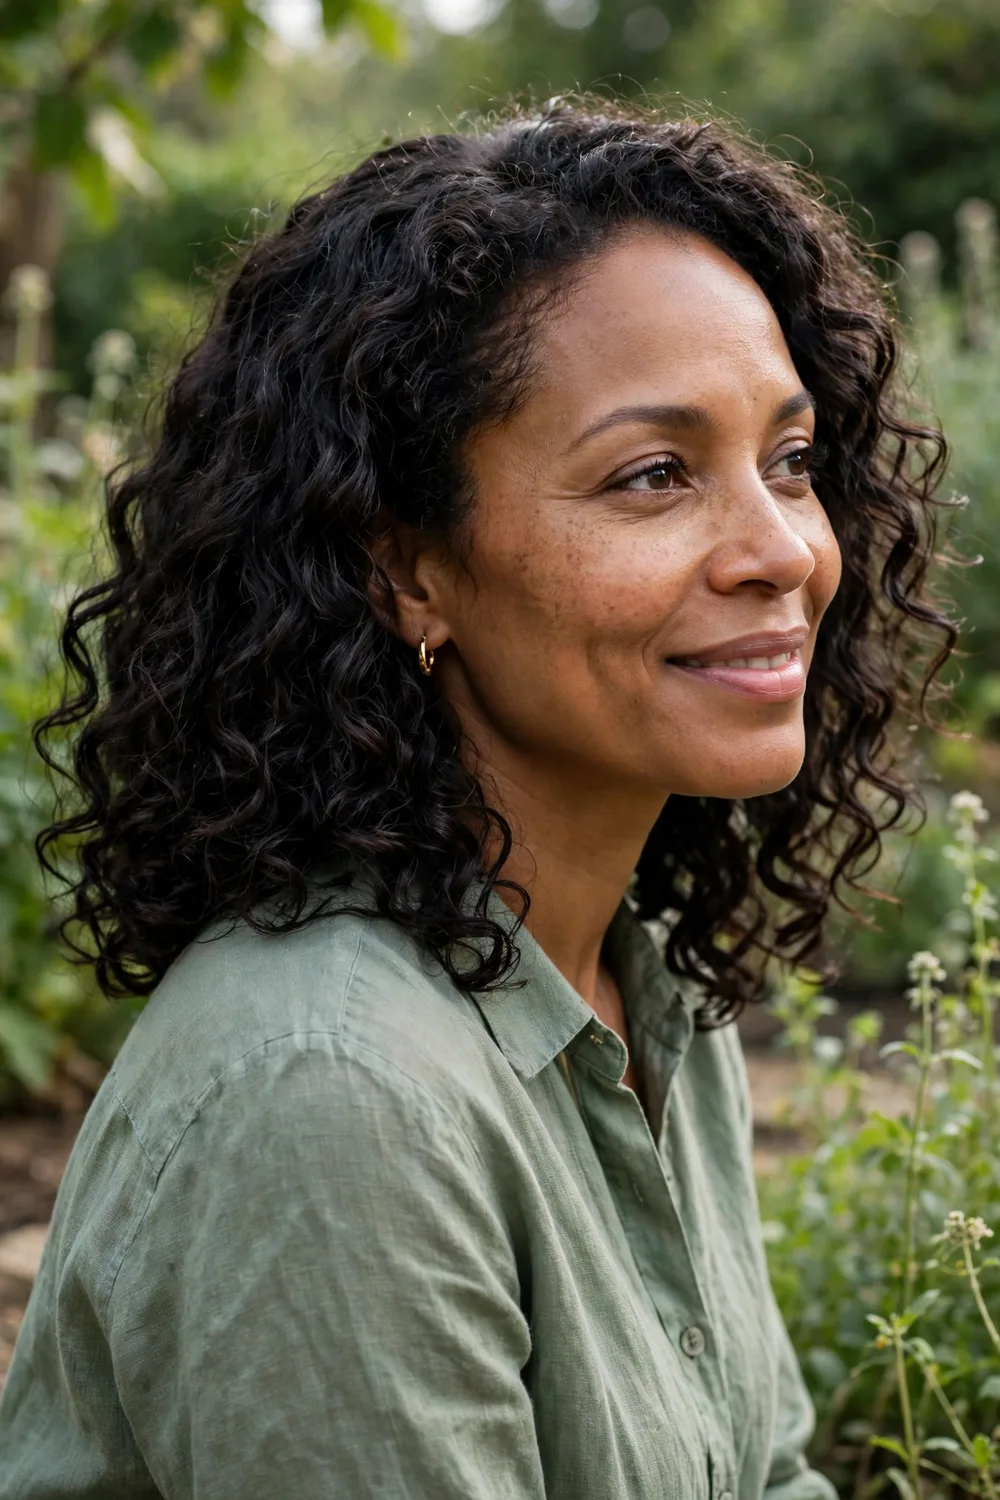
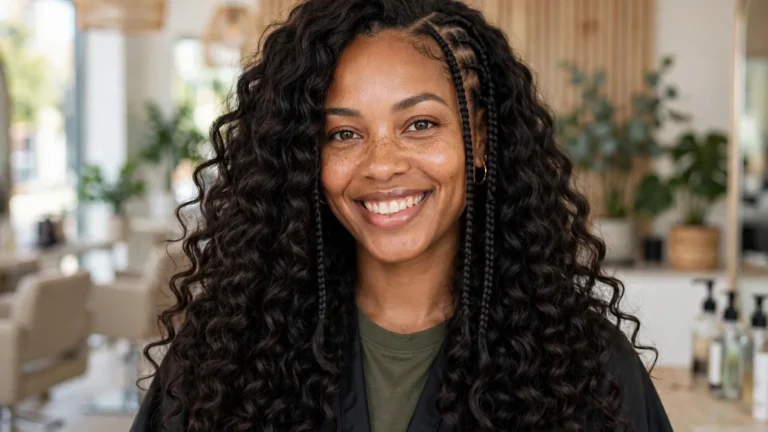
The wash-and-go is the style every natural starts with and keeps coming back to. Rake a leave-in and a curl cream through soaking wet hair, scrunch to encourage clumps, and then — hardest part — leave it alone while it dries. The result is your real curl pattern, defined and shining, with zero manipulation.
Definition lives or dies on wetness. Style on hair that is dripping, not damp, and work in small sections so every curl gets product. Diffuse on low heat if you are in a hurry, or air-dry for the softest, least frizzy finish.
2. The Voluminous Twist-Out
Chunky twists, big separation, maximum fullness.
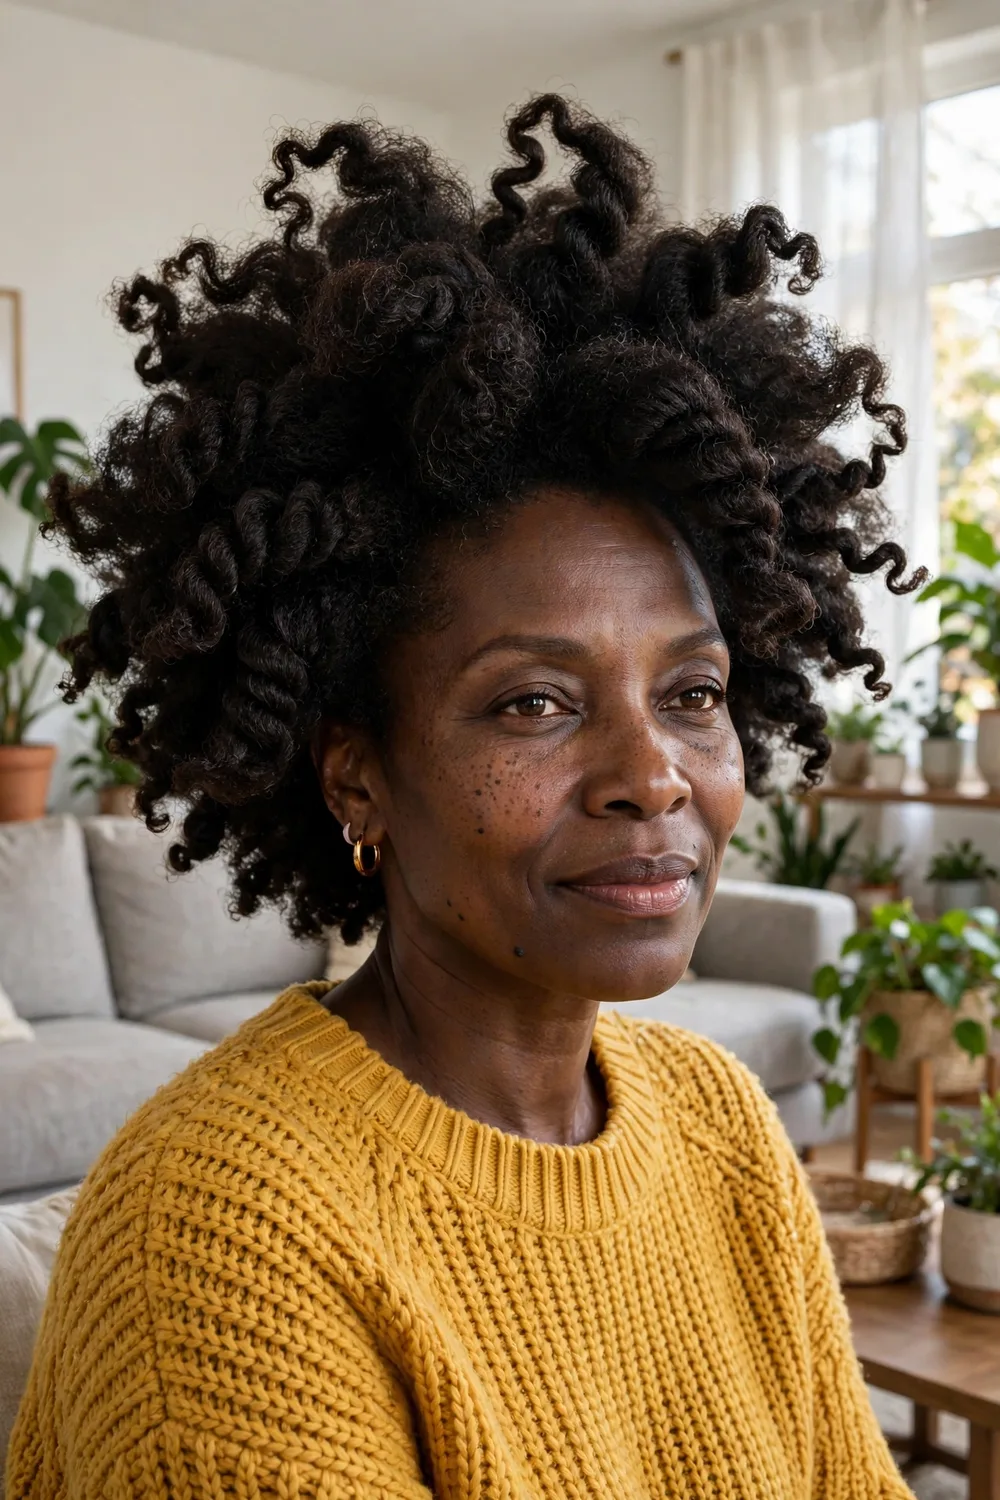
If the wash-and-go is about definition, the twist-out is about drama. Twist damp hair in chunky sections, let it dry completely, then separate each twist gently with oiled fingers. The bigger the twists, the bigger the hair — this is the style for anyone who wants their afro to enter the room first.
Do not rush the drying. Unraveling twists that are still damp inside collapses the wave and invites frizz. Overnight drying under a bonnet is the safest bet, and separating with oil instead of dry fingers keeps the texture soft rather than fuzzy.
💡 Quick Tip
For extra volume, twist on stretched hair instead of shrunken hair — braid or band it first, then twist. The added length turns into added fullness when you separate.
3. The Braid-Out
Crimped waves with a zigzag soul.
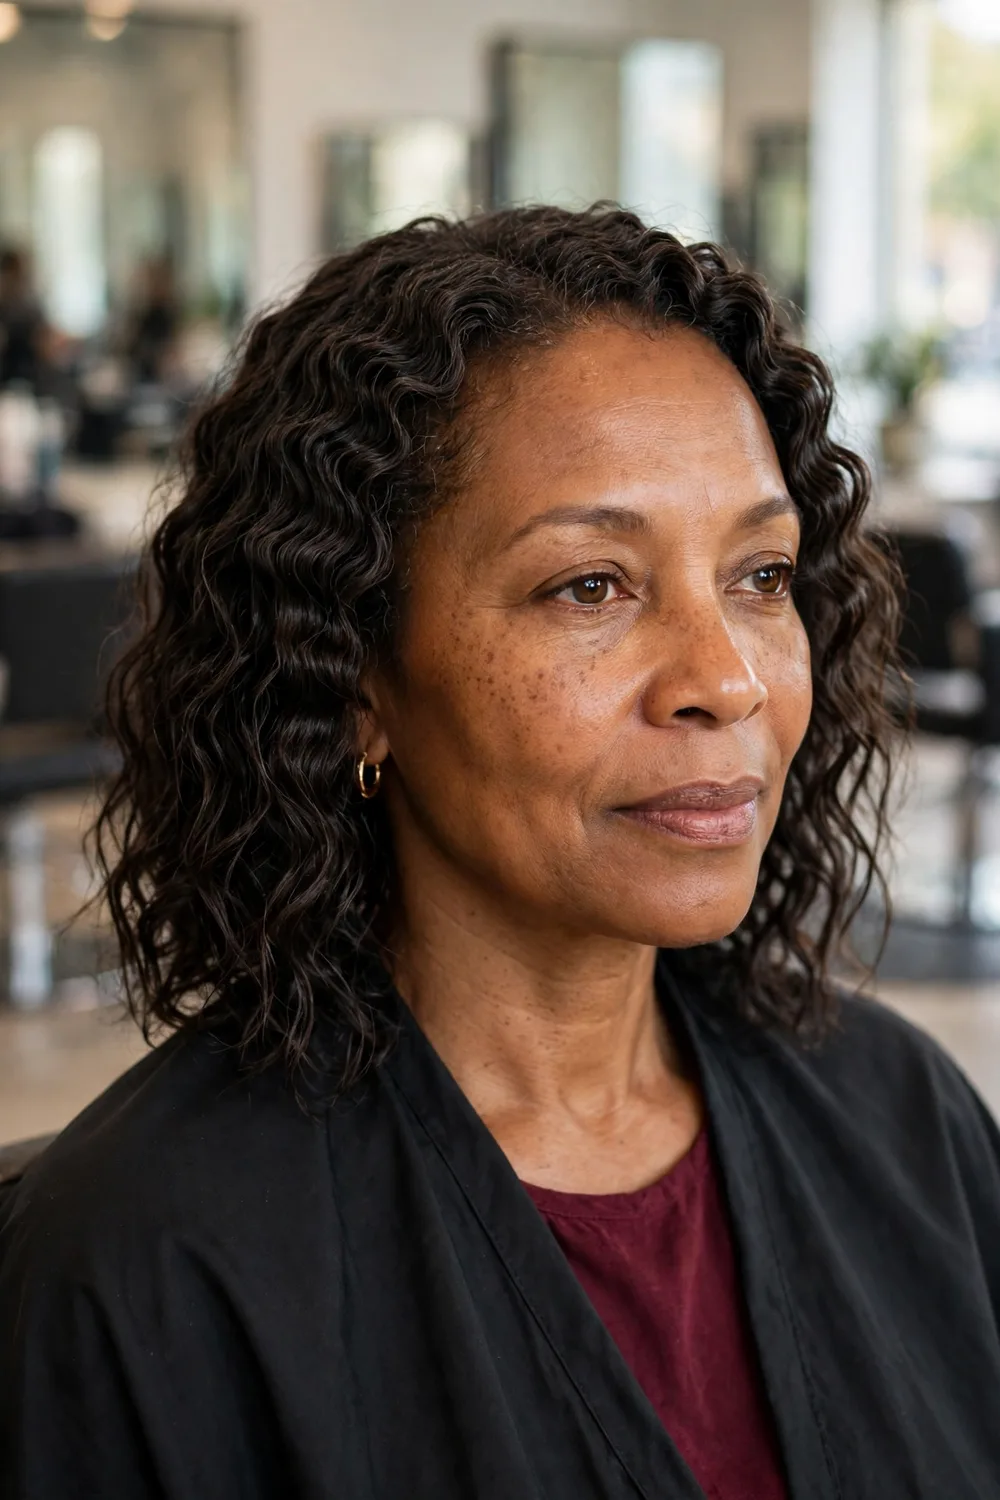
A braid-out trades the twist-out’s soft waves for a crimped, zigzag texture that holds its shape for days. Braid damp hair in medium plaits, dry fully, then unravel and fluff. The result has more grip and structure than a twist-out, which makes it a great choice for hair that falls flat by lunchtime.
Smaller braids mean tighter crimps; larger braids mean looser, beachier waves. And if braids themselves are your love language, these braided hairstyles cover every braid style worth wearing, from knotless to goddess to lemonade.
Braid-out checklist
4. The Rounded Afro
A perfect circle of texture, picked to perfection.
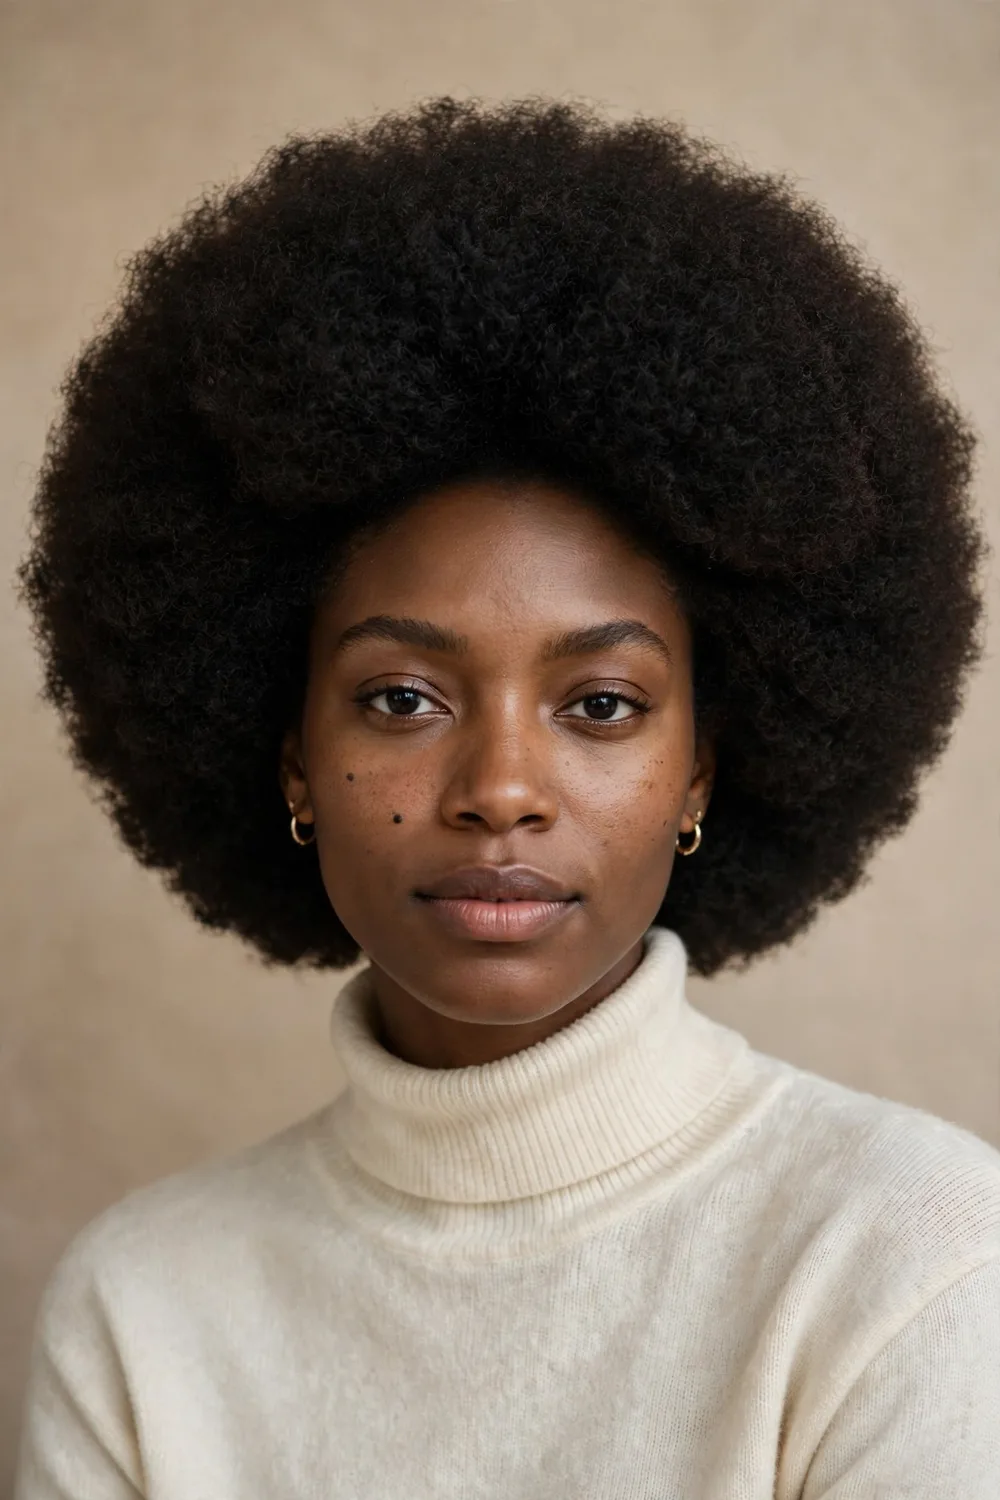
The rounded afro is natural hair’s crown jewel: a full, even halo shaped with a pick, not a brush. Wash, condition, and let the hair dry mostly free, then pick outward from the roots in sections until the silhouette is even all the way around. It is bold, it is classic, and it photographs beautifully.
Shape is everything here. Pick in layers — bottom layer first, then the middle, then the crown — and step back to check the silhouette in the mirror as you go. A light oil on the ends keeps the halo soft instead of dry and matte.
Pick from the roots outward, section by section.
Seal the ends with a light oil for softness.
Brushing dry hair — it breaks the curl and invites frizz.
Heavy butters at the roots, which flatten the shape.
5. The Teeny Weeny Afro (TWA)
Short, tight, and completely unbothered.
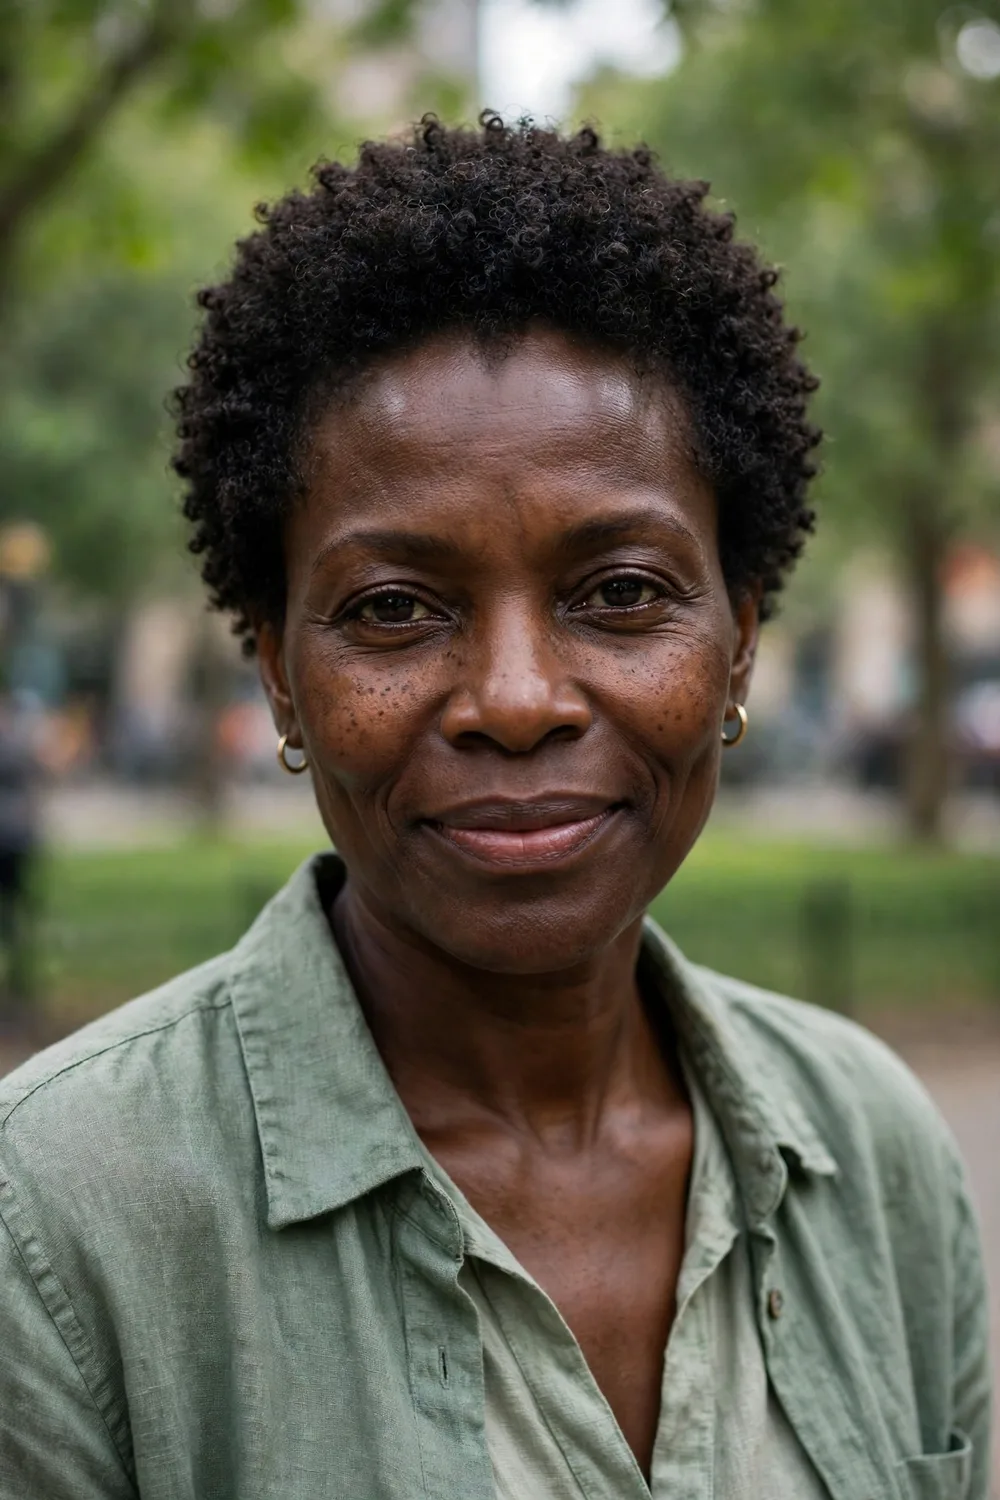
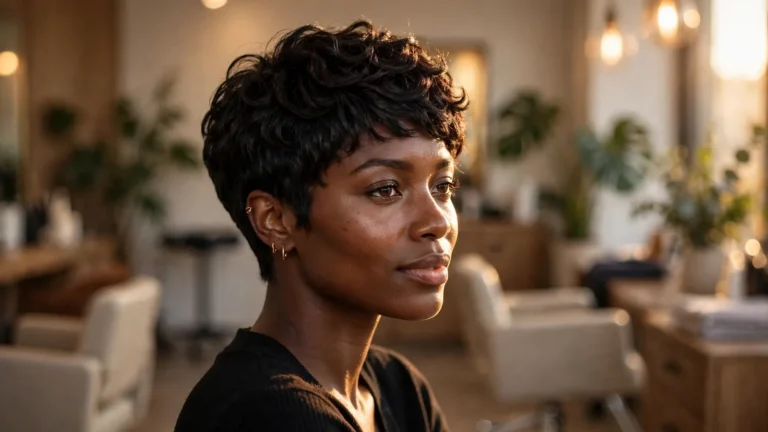
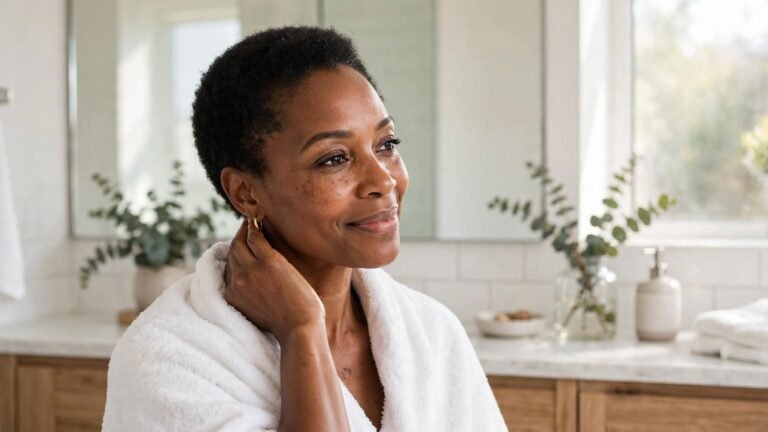
The TWA is freedom in its shortest form: coils close to the head, a shape that needs almost nothing, and a look that puts your face front and center. It is the go-to after a big chop, and it is also a deliberate style in its own right — low effort, high impact, endlessly chic.
Keep it simple: a good cut with a defined shape, a leave-in, and a soft brush or sponge for coil definition. If short hair is calling your name beyond the TWA, these short hairstyles run from pixies to bobs to tapered cuts.
💡 Quick Tip
A TWA grows out fast — a shape-up every 3–4 weeks keeps the silhouette intentional instead of accidental.
6. The High Puff
One puff, all the way up, instant attitude.
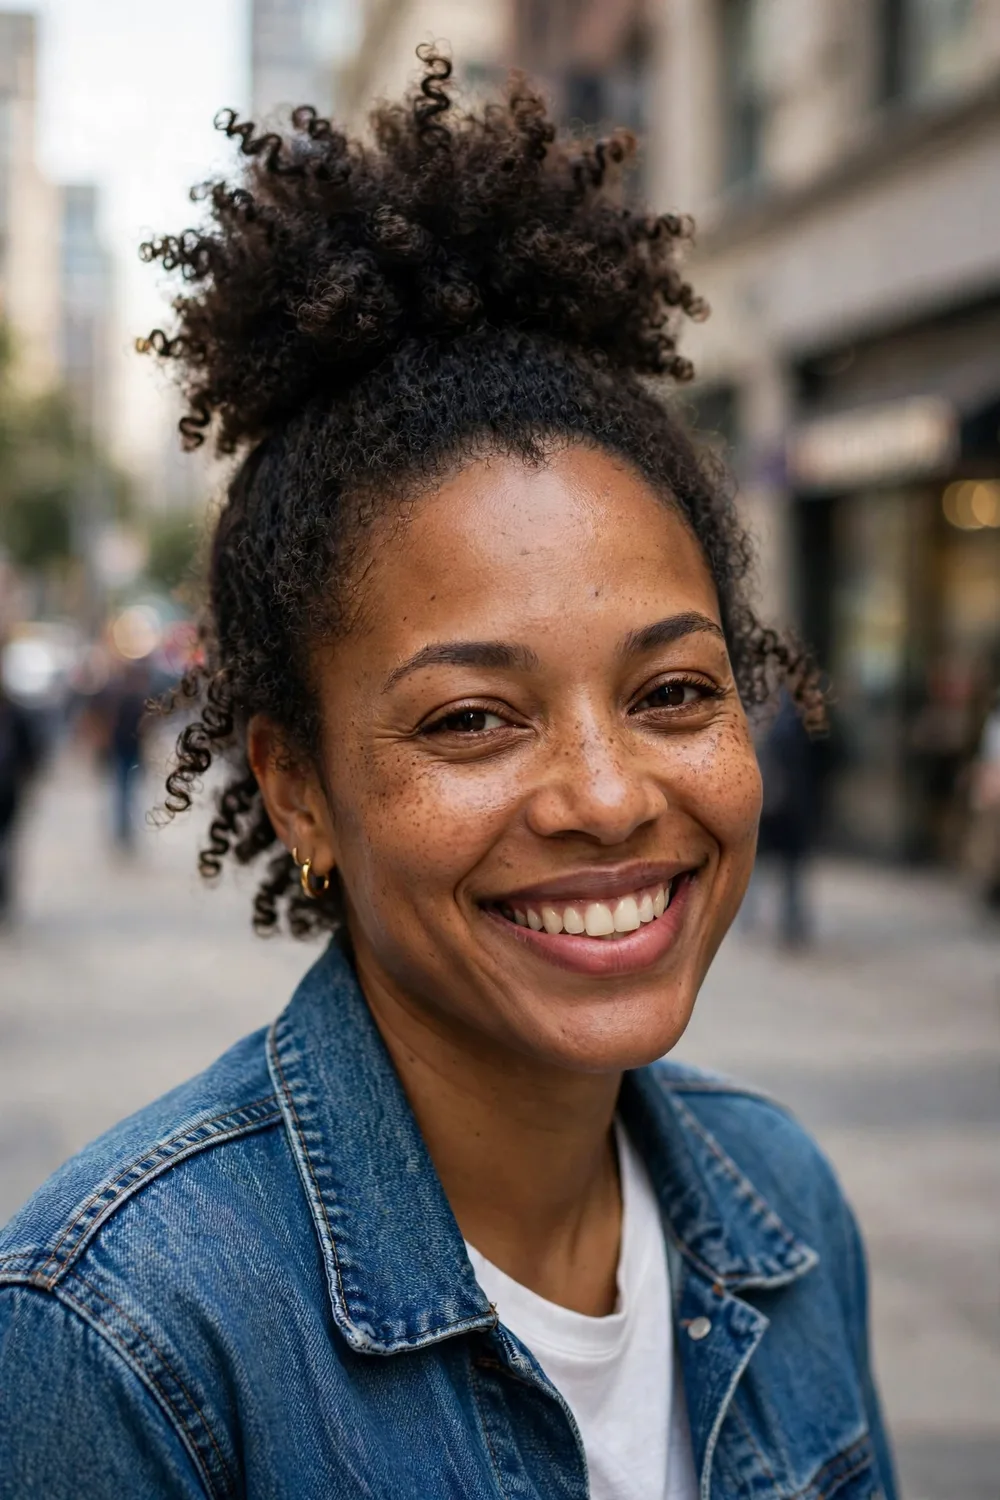
The high puff gathers everything to the crown and lets the curls do the talking. It is the fastest natural style that still looks intentional: smooth the sides with a little gel and a brush, secure with a wide band or a puff cuff, and fluff the top until it sits exactly how you like it.
The trick is tension. Too tight and you get a headache and stressed edges; too loose and it slides by noon. A satin-lined band or a stretchy puff holder grips without pulling, and a few bobby pins at the base keep the shape secure all day.
7. The Low Puff
Sleek at the nape, soft everywhere else.
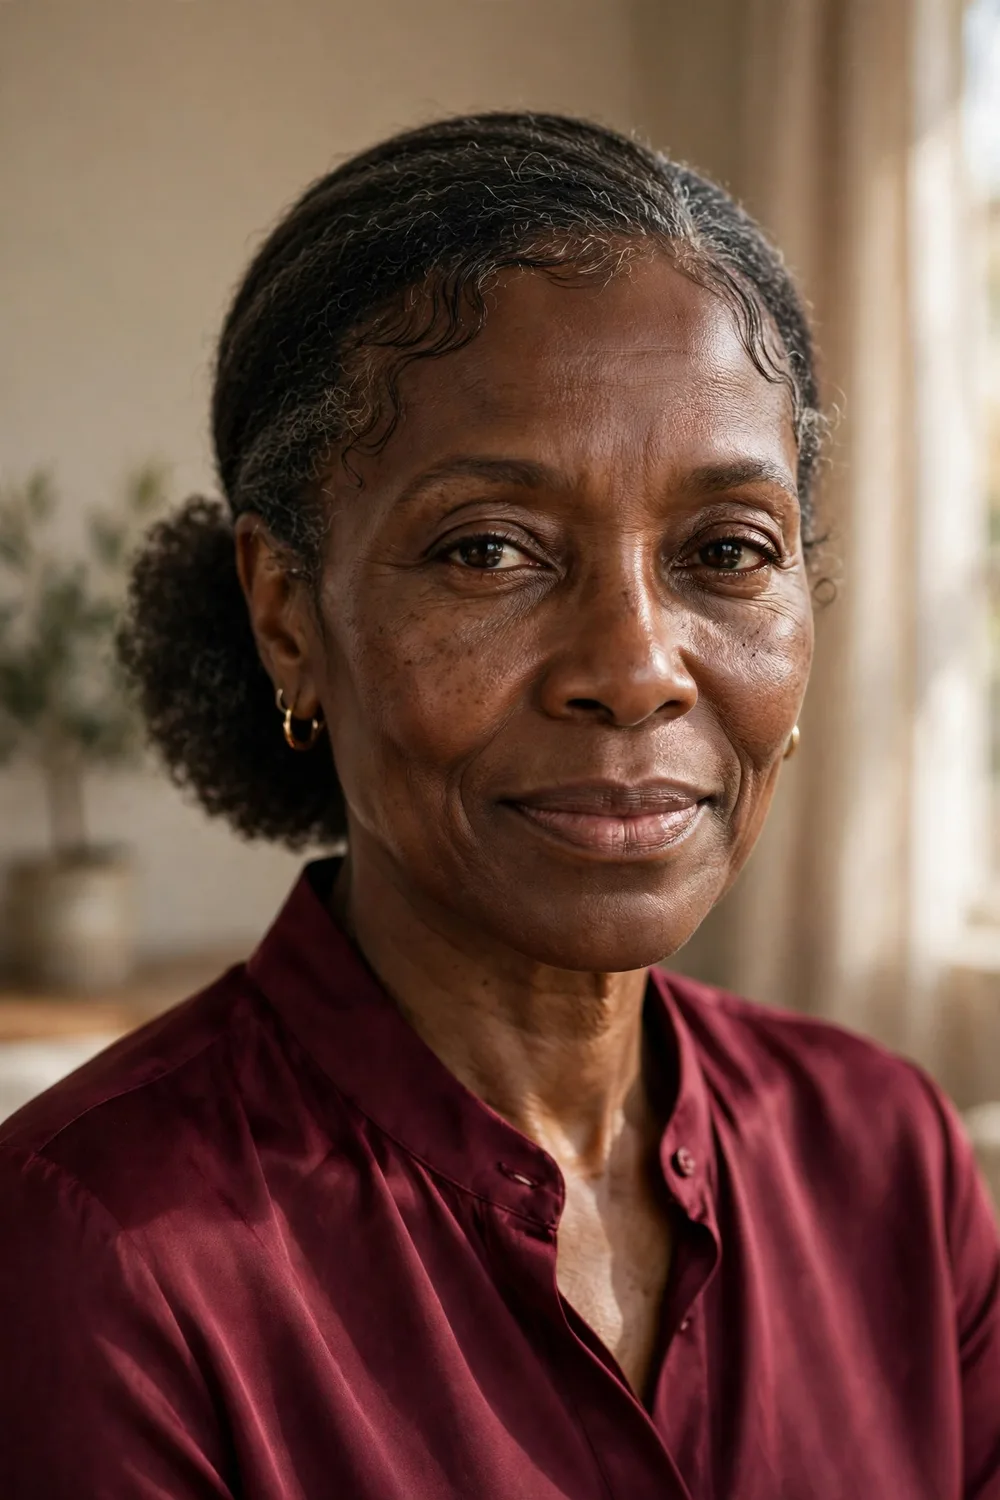
The low puff is the high puff’s polished sister. Hair is smoothed back and gathered at the nape, with the puff itself left soft and full. It reads elegant in a way the high puff does not — this is the one for dinners, offices, and any room where you want to look put-together without trying too hard.
Smooth with a brush and a light gel, but keep the puff itself product-free so it stays soft. A center or side part before gathering adds structure, and laying the edges with a soft brush finishes the look.
Low puff checklist
8. Bantu Knots, Worn As-Is
The knots are the style — no unraveling required.
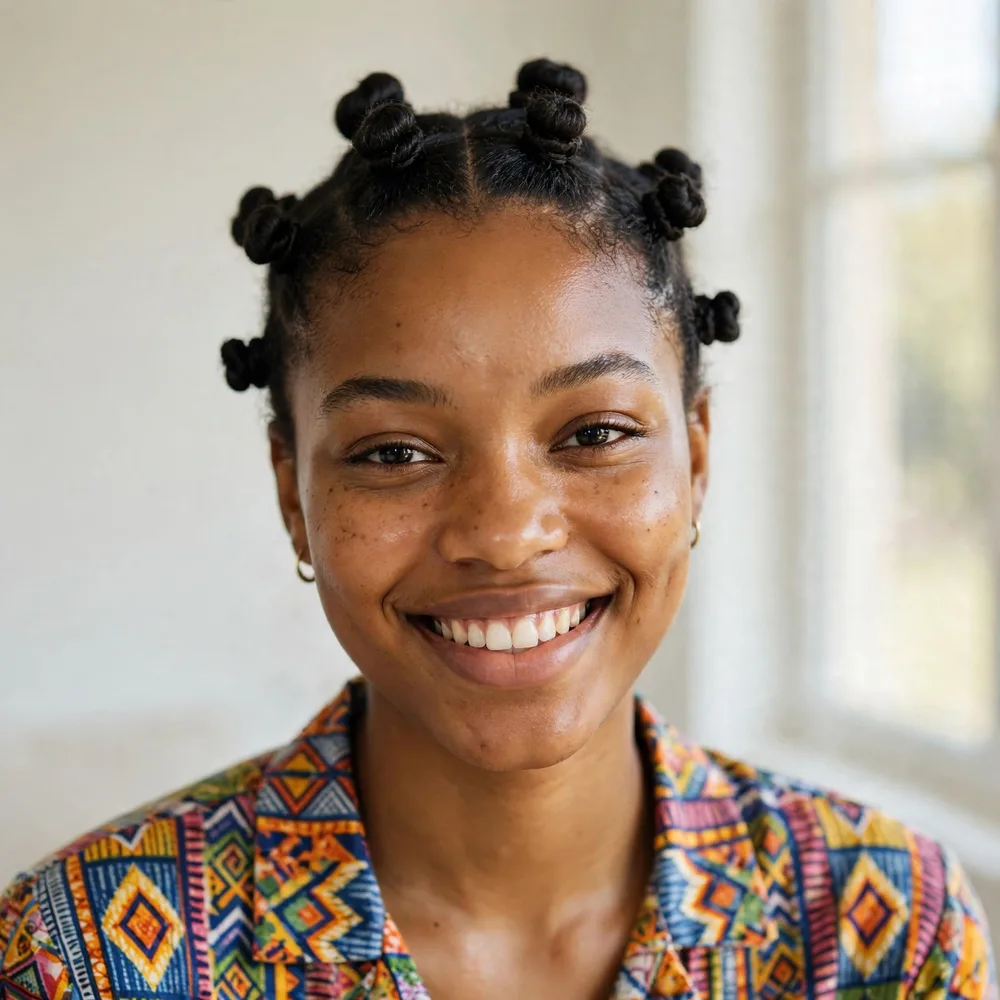
Most people know bantu knots as the setup for a knot-out. But worn as-is, they are a striking style all their own: neat coiled knots arranged across the head like a crown. They are protective, they last for days, and they turn heads in a way loose hair simply does not.
Part in clean sections — triangles, squares, or diamonds — and twist each section from root to tip before coiling it flat against the scalp. Tuck the ends under so nothing pokes out, and keep the parts neat: with this style, the parting pattern is half the look.
Part in a deliberate pattern — it shows.
Sleep in a bonnet so the knots stay neat.
Wrapping knots too tight — tension shows at the hairline.
Skipping the tuck — loose ends frizz the whole style.
9. Finger Coils
Tiny, perfect spirals, made one by one.
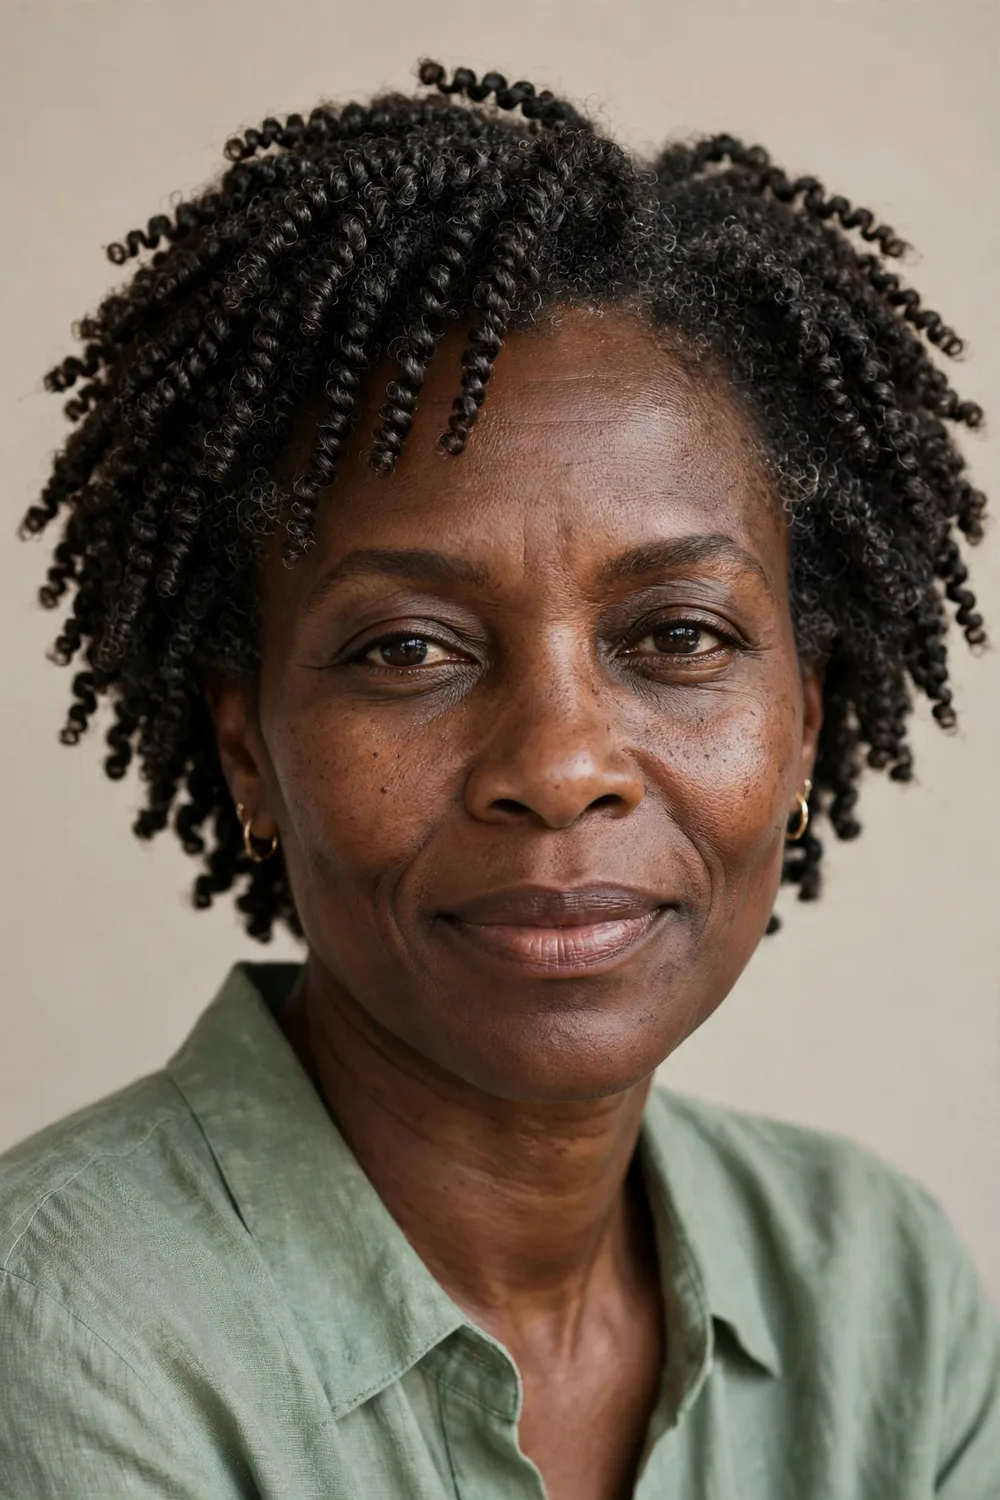
Finger coils are the most precise wash-and-go there is: each curl is wound around a finger into a tight, uniform spiral. The result is jaw-dropping definition — every coil separate, shiny, and springy. It takes time, but on short to medium hair it is the closest thing to a guaranteed good hair day.
Work on soaking wet hair with a curl cream or light gel, and coil small sections in the same direction for a uniform look. Let them dry completely untouched; separating too early turns coils into frizz. Once dry, you can leave them tight or gently separate for more volume.
💡 Quick Tip
Coil in front of a show, not the clock. Finger coils reward patience — rushing them is the only way to get uneven spirals.
10. The Perm-Rod Set
Ringlets so tight they bounce when you walk.
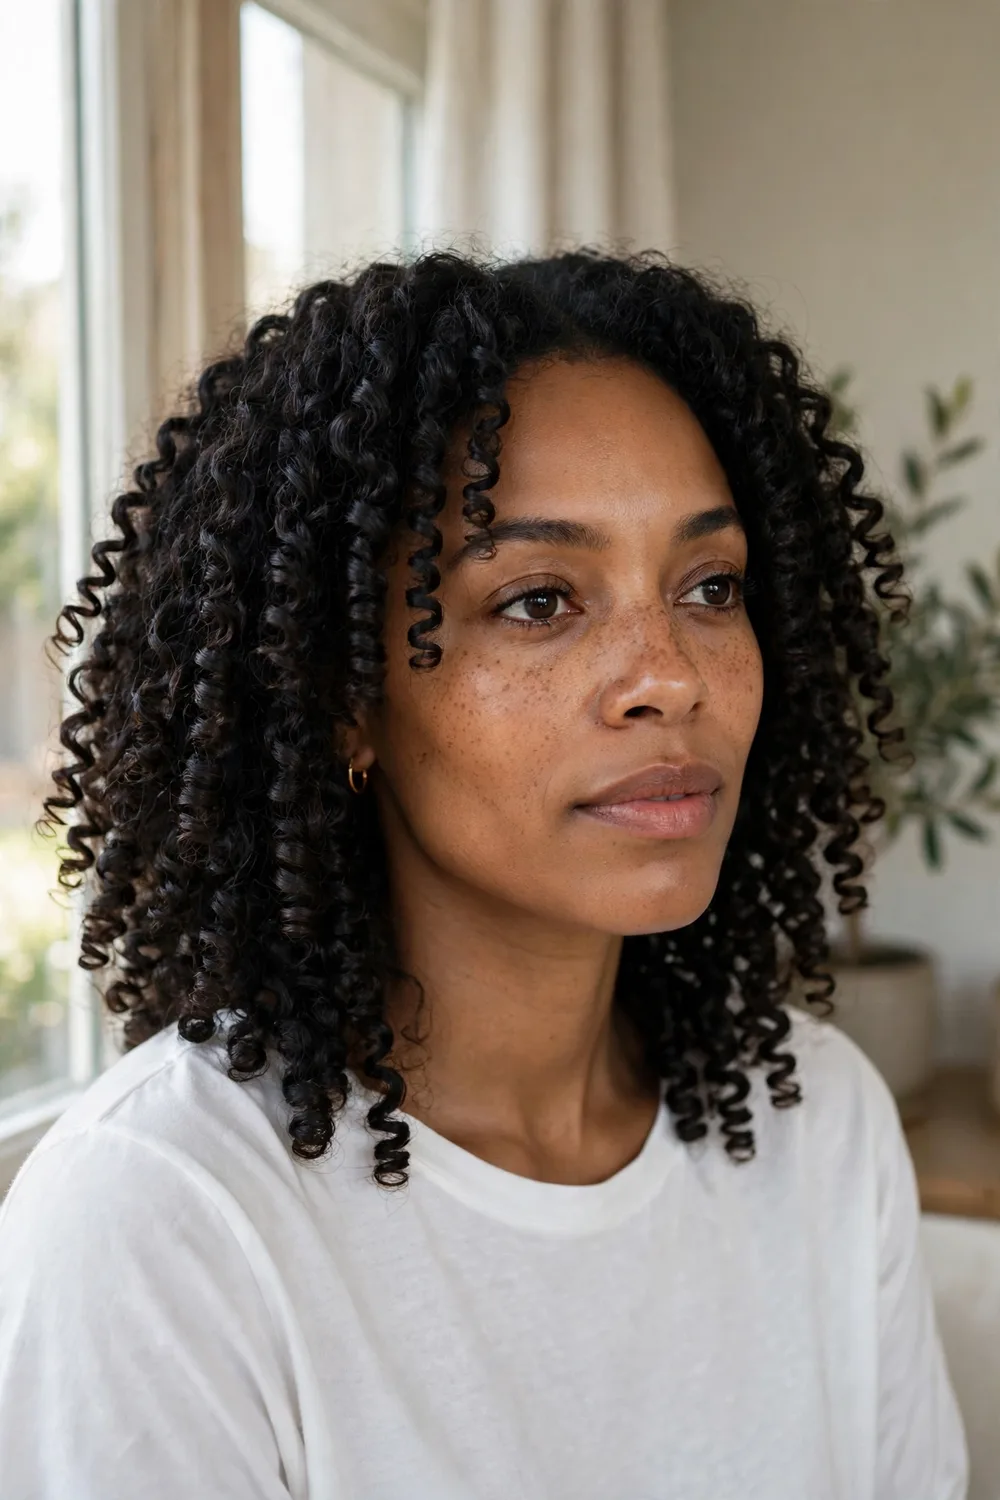
Perm rods are the tool for curls that hold: wrap small sections of damp hair around the rods, let them dry fully, then unroll into tight, springy ringlets. Unlike a flexi-rod wave, the perm-rod curl is a true spiral — bouncy, uniform, and long-lasting.
Rod size decides the curl: small rods for tight ringlets, larger rods for looser spirals. Use a setting foam rather than a heavy cream so the curls stay light, and unroll from the bottom up to avoid disturbing the shape.
11. The Roller Set
Old-school rollers, new-school bounce.
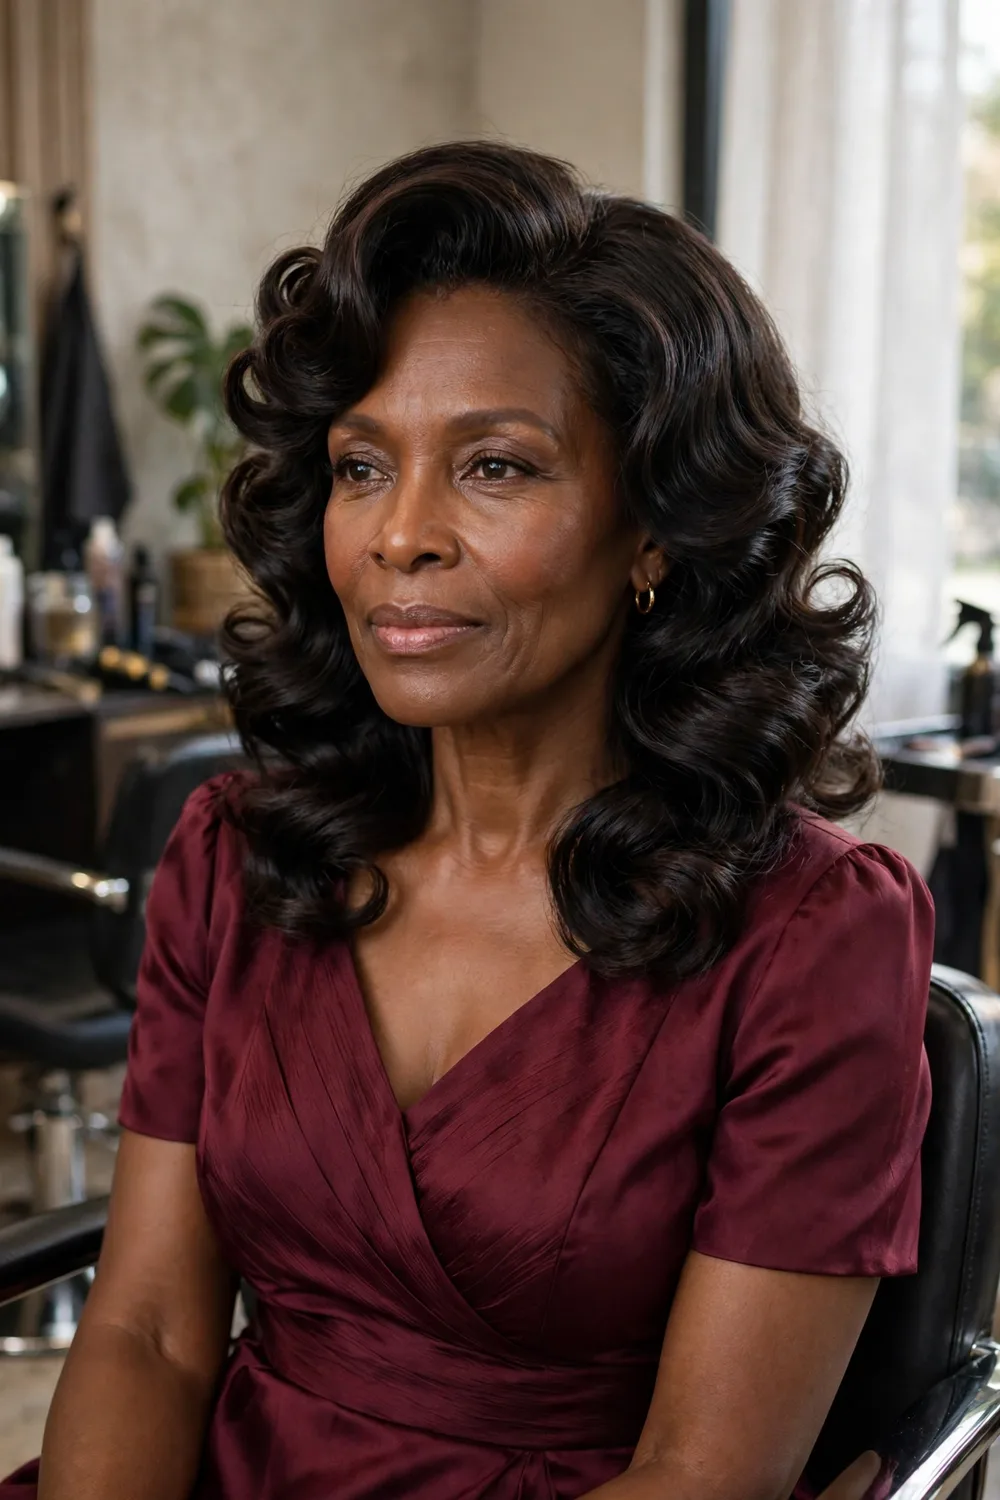
The roller set is the salon classic that never left: magnetic rollers on damp hair, dried under heat or overnight, unrolled into smooth, bouncy waves with serious body. It gives natural hair a polished, blown-out look without a flat iron touching a single strand.
Roll with tension and keep the sections even — uneven sections make uneven waves. A light setting lotion smooths the cuticle, and once the rollers come out, brush through gently with a paddle brush for softness, or leave the waves separated for more definition.
Roller set checklist
12. The Silk Press
Straight, swinging, and unmistakably sleek.
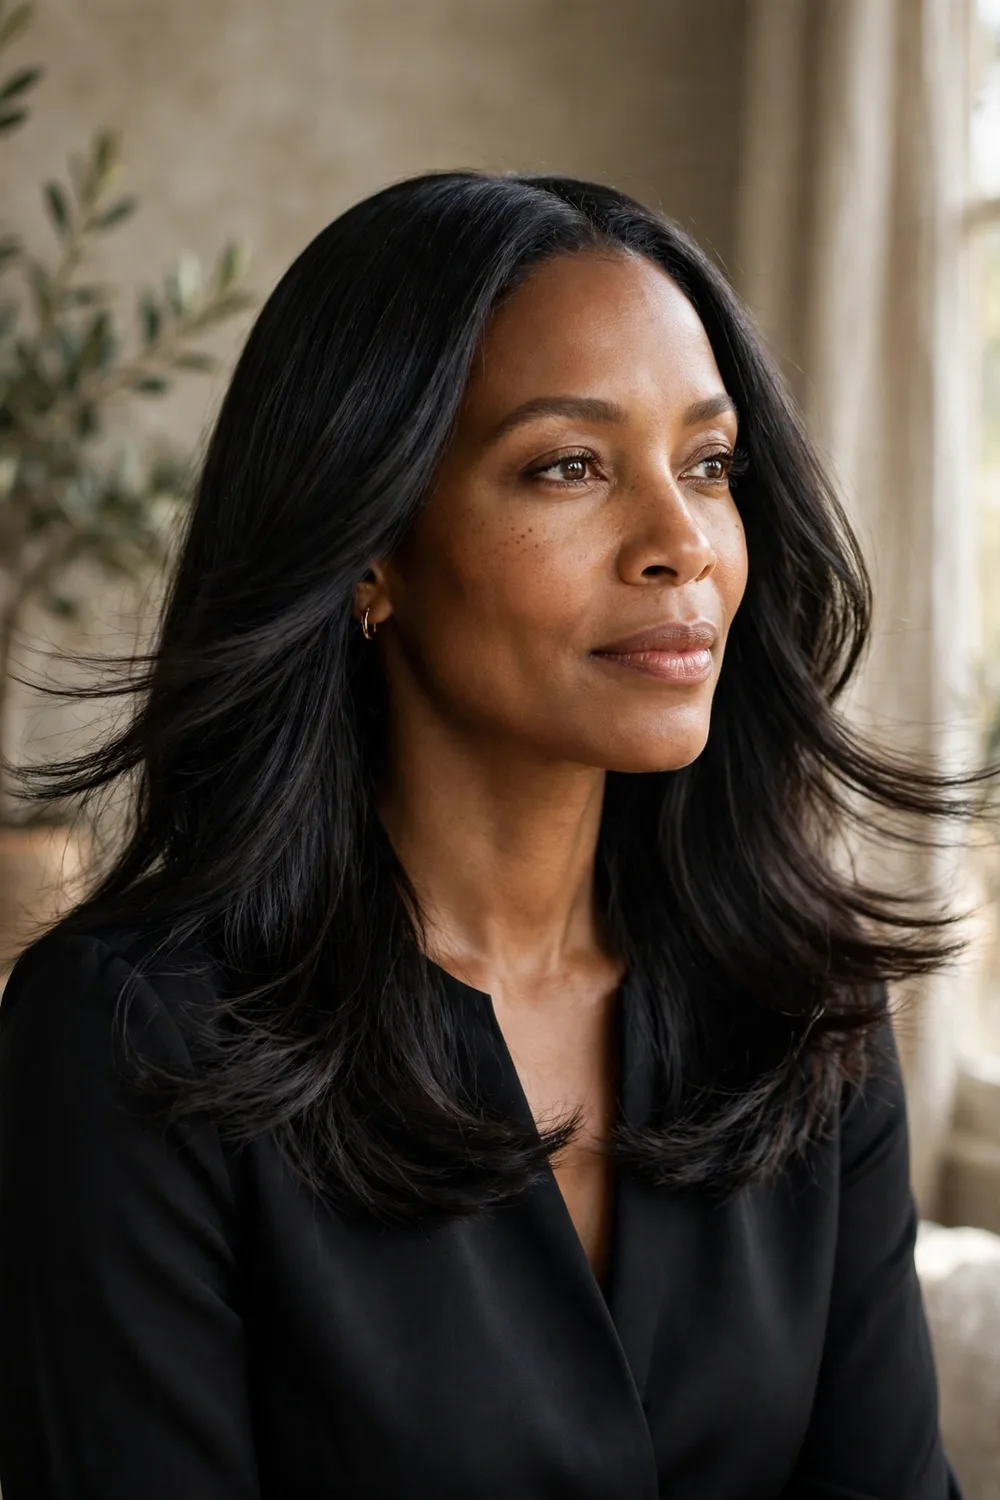
A silk press takes natural hair straight without a relaxer: a careful blow-dry followed by a flat iron pass, sealed with a light serum for that liquid shine. Done right, it moves like silk, swings when you walk, and reverts the moment water touches it — no commitment, just a beautiful temporary transformation.
Heat protectant is non-negotiable, and so is starting from clean, deep-conditioned hair. Work in thin sections with one slow iron pass instead of several fast ones — less heat damage, smoother result. And on the days you want the straight look with zero heat at all, a natural-looking wig gives you the same silhouette while your own hair rests.
Deep condition first, then heat protectant.
One slow iron pass per thin section.
Ironing dirty or product-heavy hair — it bakes buildup in.
Skipping the wrap at night; the press frizzes fast.
13. Flat Twists with a Free Crown
Neat at the sides, wild on top — the best of both.
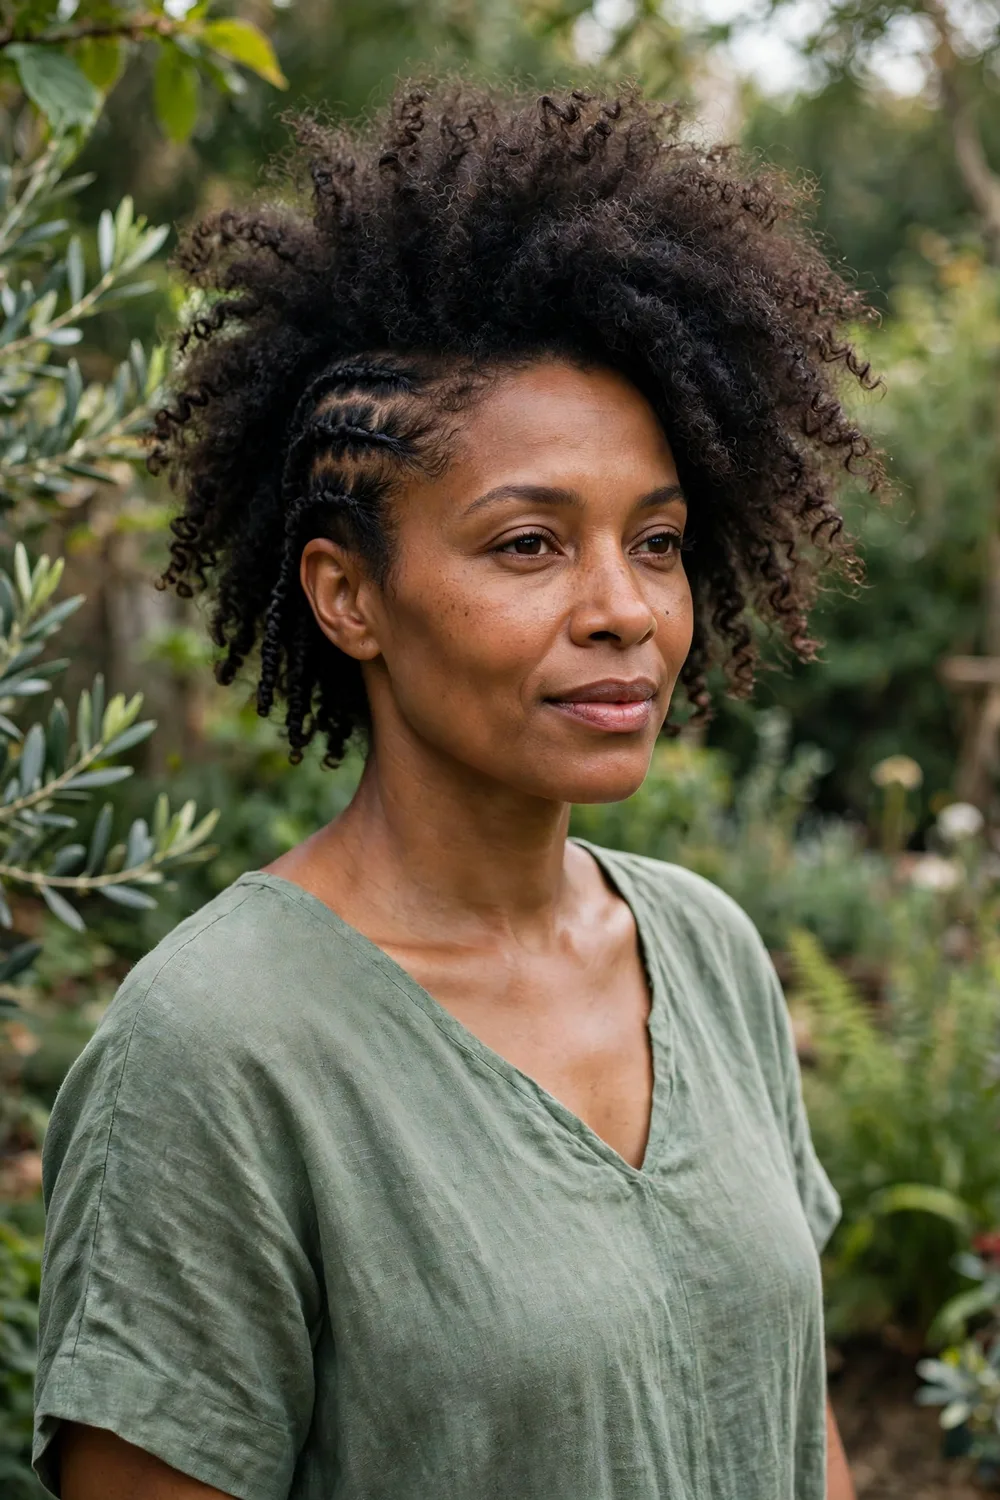
Flat twists along the sides with loose curls left free on top give you structure and freedom in one style. The twists keep the edges tidy and the shape intentional, while the crown does whatever it wants — and looks great doing it.
Twist two or three flat rows on each side, working back from the hairline, and leave the crown section untouched except for a little curl cream. Pin the twist ends where they meet the loose hair so the transition looks deliberate, not accidental.
💡 Quick Tip
This is a great second-day rescue: flat-twist the frizzy front sections and let the still-good crown stay free.
14. Shoulder-Length Two-Strand Twists
The everyday twist, worn long and loose.
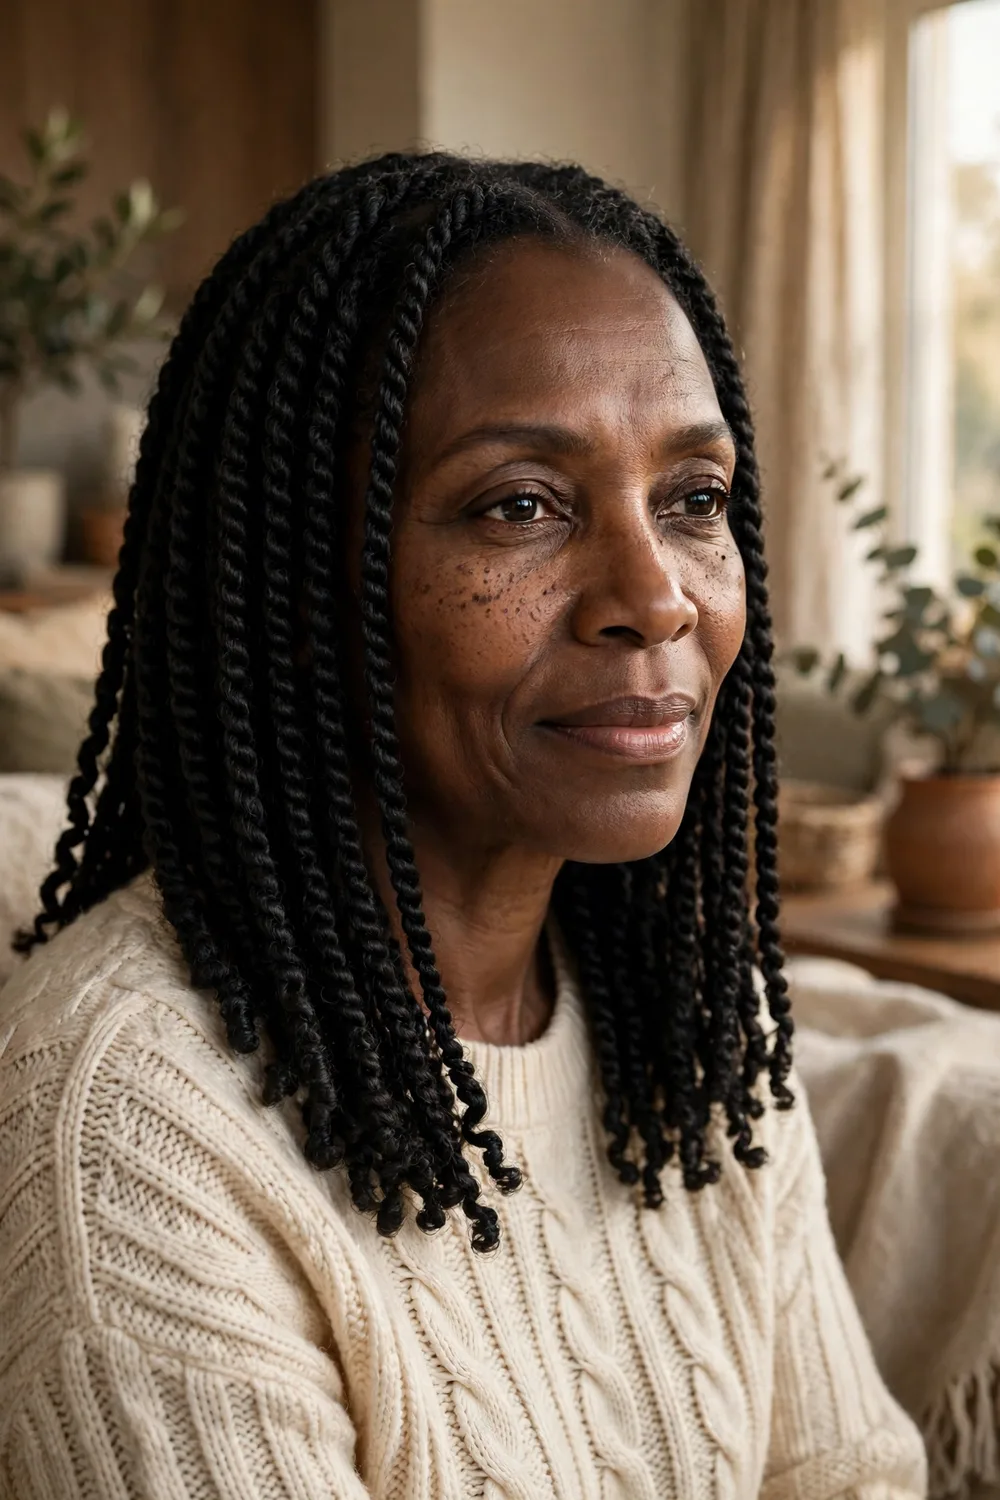
Two-strand twists are the workhorse of natural styling, and worn at shoulder length they are a complete look on their own — neat, swinging, and easy to dress up or down. Twist damp, moisturized hair in medium sections, seal the ends, and you have a style that lasts two weeks with almost no daily effort.
Keep the parts clean and the tension even; uneven tension makes twists unravel at different rates. And if twists ever tempt you toward something more permanent, these locs show how a twist foundation can grow into a whole journey.
15. Mini Twists
Tiny twists, endless styling options.
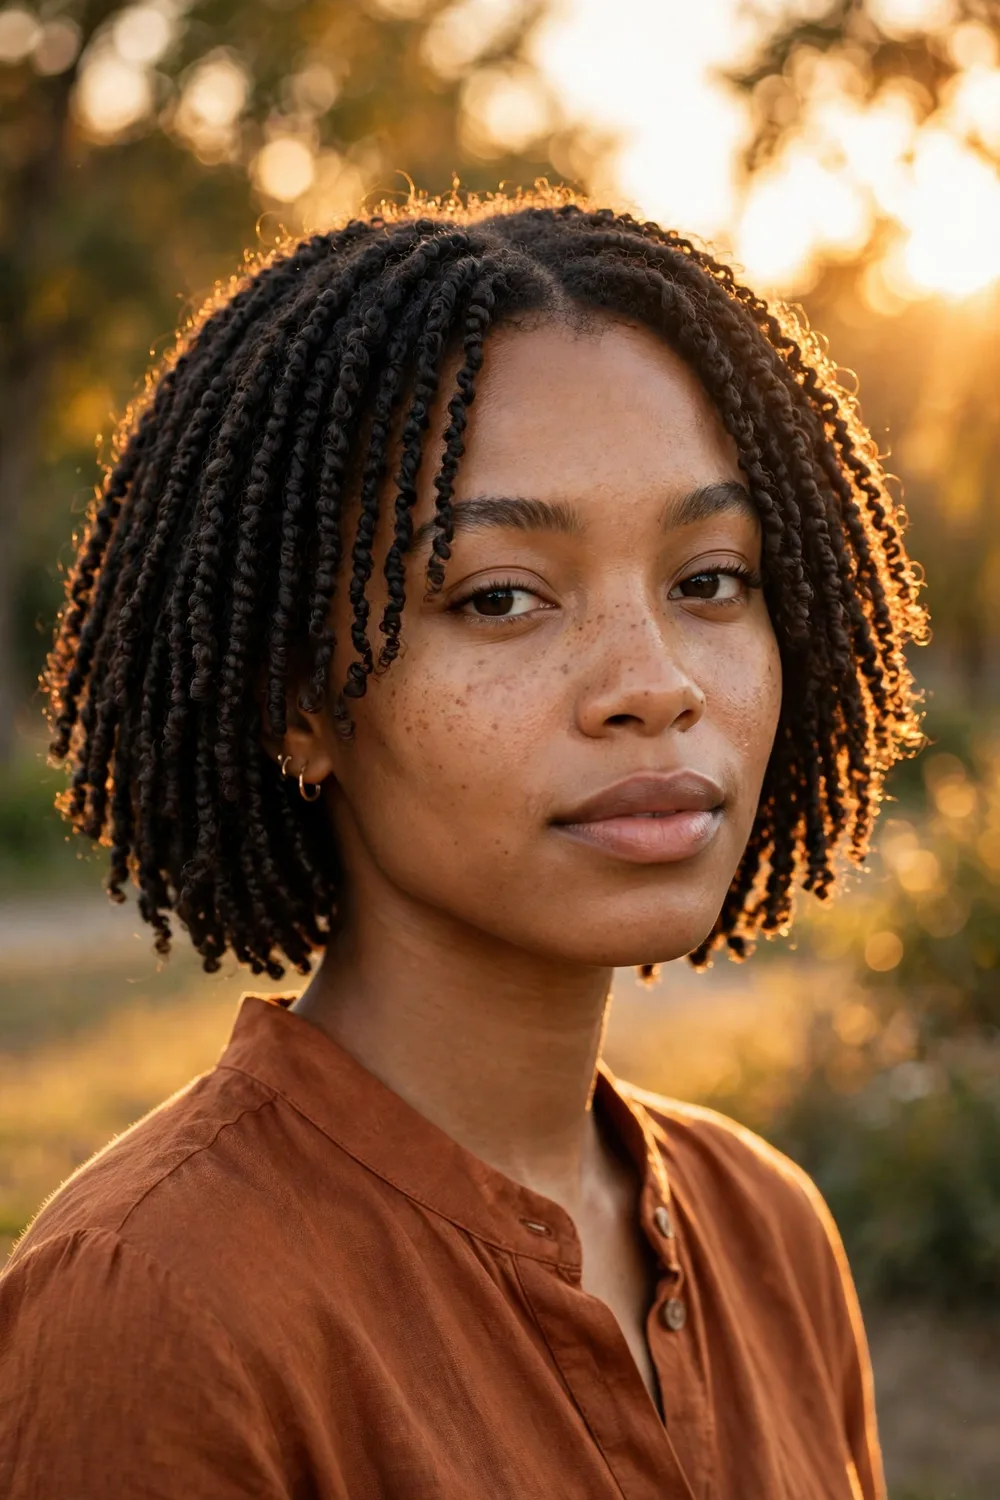
Mini twists are two-strand twists at their smallest — dozens of tiny twists that move like loose hair but protect like a set style. Wear them loose, pile them into a puff, pin them into an updo: the base never changes, but the silhouette can change every day.
Install on damp hair with a butter or cream for moisture that lasts, and mist every few mornings with water and leave-in to keep them soft. If low-manipulation protective styling is your goal, these protective styles pair beautifully with a mini-twist base.
Mini twist checklist
16. The Textured Top Knot
All the curl, piled high and pinned loose.
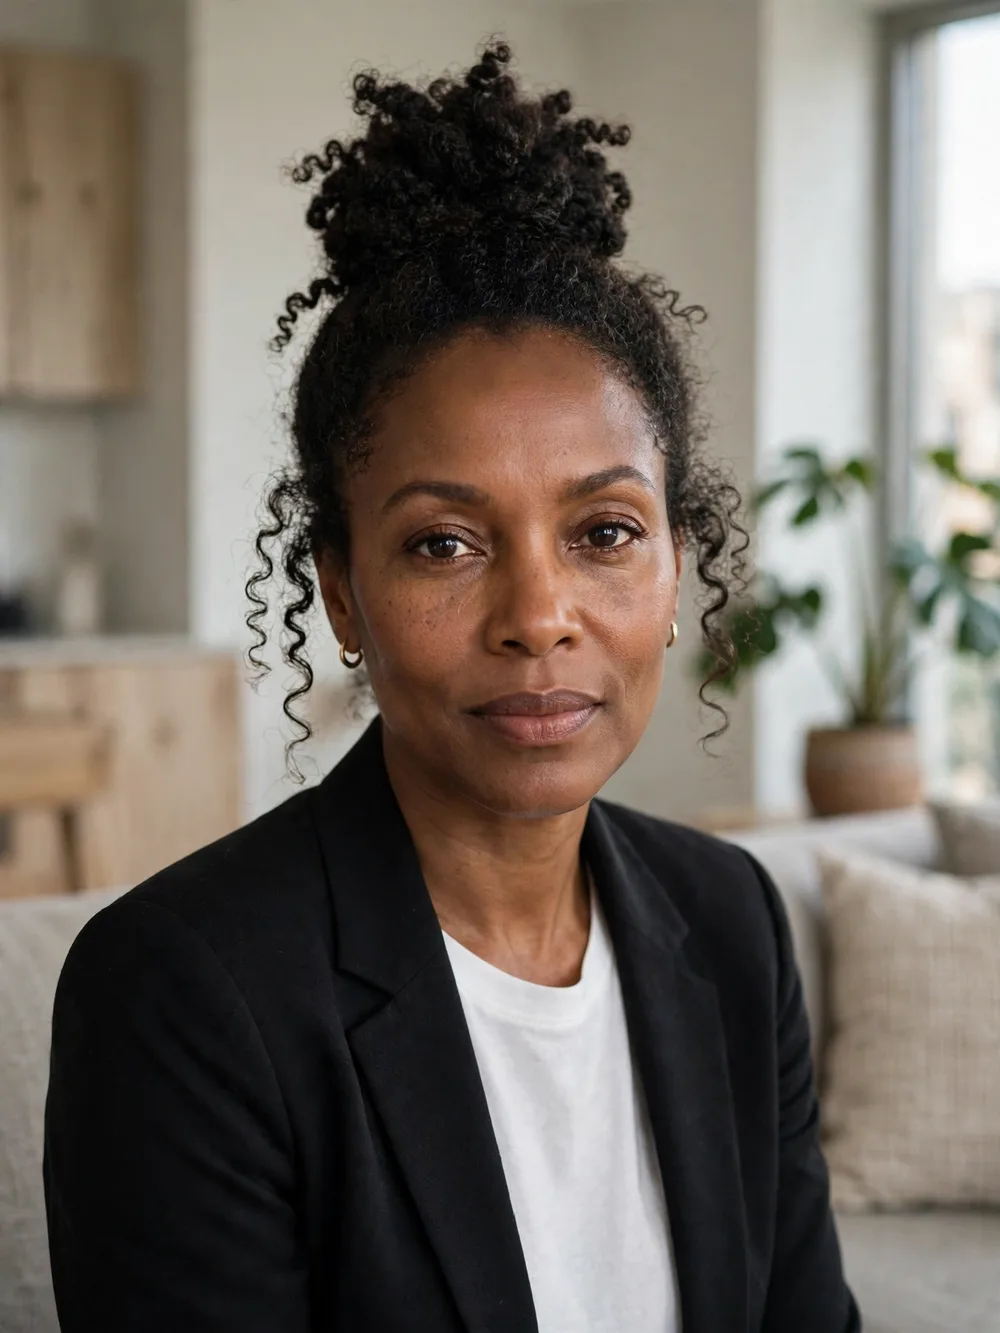
The textured top knot takes your curls and piles them into a high bun that keeps all the texture — no smoothing, no gel-cast shell, just a soft, full knot with a few curls escaping around the face. It is dressy enough for a night out and easy enough for a Tuesday.
Gather loosely at the crown, twist once, and pin rather than wrap tight: pins preserve the volume, while a tight elastic flattens it. Pull a few curls free at the front to soften the hairline, and you are done in five minutes.
Pin, don’t wrap tight — pins keep the volume.
Free a few face-framing curls.
Smoothing the knot with heavy gel — it kills the texture.
Pulling the base tight enough to ache.
17. The Middle-Part Voluminous Fro
Symmetry, volume, and a parting that means business.

A clean middle part turns a big fro into a balanced, deliberate shape: two even halves of volume framing the face. It is striking in its symmetry, and it shows off a healthy, even hairline better than any other parting.
Part on dry, picked-out hair with a tail comb, drawing the line from the forehead straight back. Then pick each side outward to match — check the silhouette from the front, not just the top, since the mirror angle lies about symmetry.
💡 Quick Tip
A middle part shows the hairline, so keep edges soft and product-light — a hard gel line against a soft fro looks mismatched.
18. The Half-Up, Half-Down
Off your face, down your back, best of both worlds.
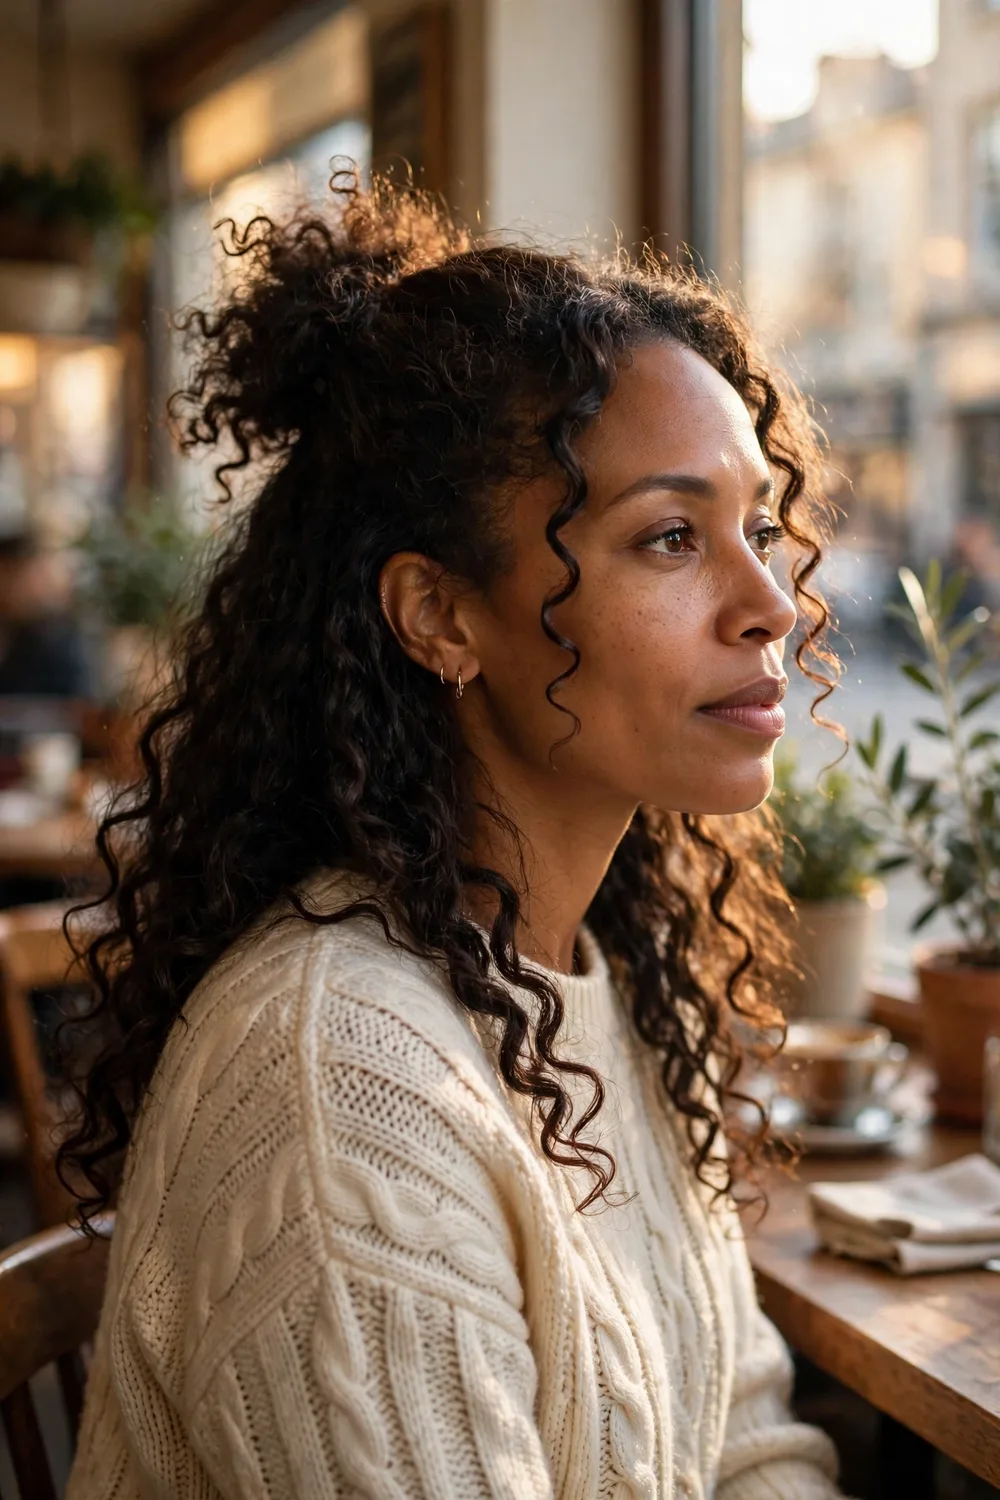
Half-up, half-down is the style for days when loose curls feel like too much but a full updo feels like too little. The top section lifts off your face and shows your earrings; the rest falls free down your back. It works on wash-and-go curls, twist-outs, braid-outs — any texture, any length past the chin.
Gather from ear to ear, not from temple to temple, or the top section goes thin. Secure with a clip or a puff cuff rather than a tight elastic, and fluff the top section for height so the style reads intentional.
19. The Curly Shag
Layers, layers, and more layers.
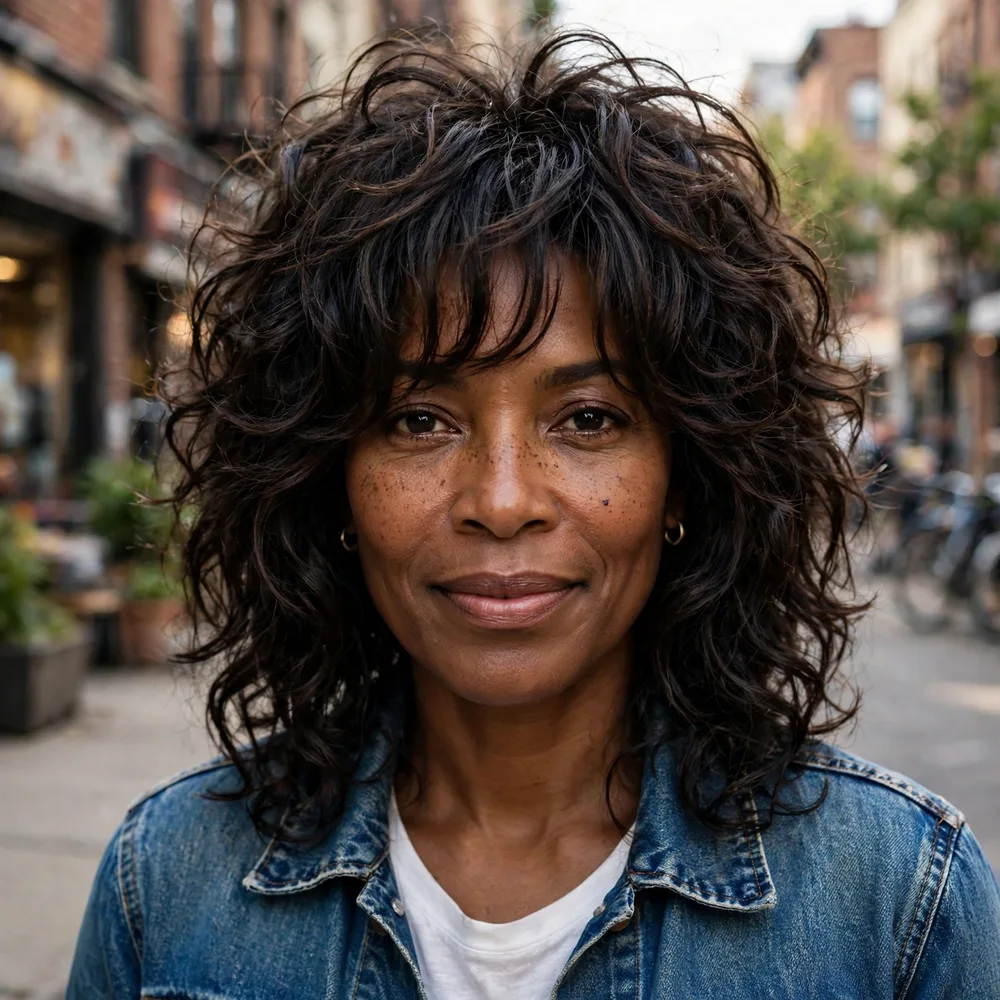
The curly shag is a cut, not just a style: short, face-framing layers on top melting into longer layers below, so curls stack into a shape with built-in movement. It gives fine or flat curls instant body, and it makes thick curls lighter and easier to manage.
Ask for the cut on dry, styled hair — a shag cut wet shrinks up shorter than expected and the layers land wrong. Keep the shortest layer no shorter than the cheekbone unless you want real drama, and refresh the shape every 8–10 weeks.
Curly shag checklist
20. The Heat-Free Stretched Afro
All your length, zero heat damage.
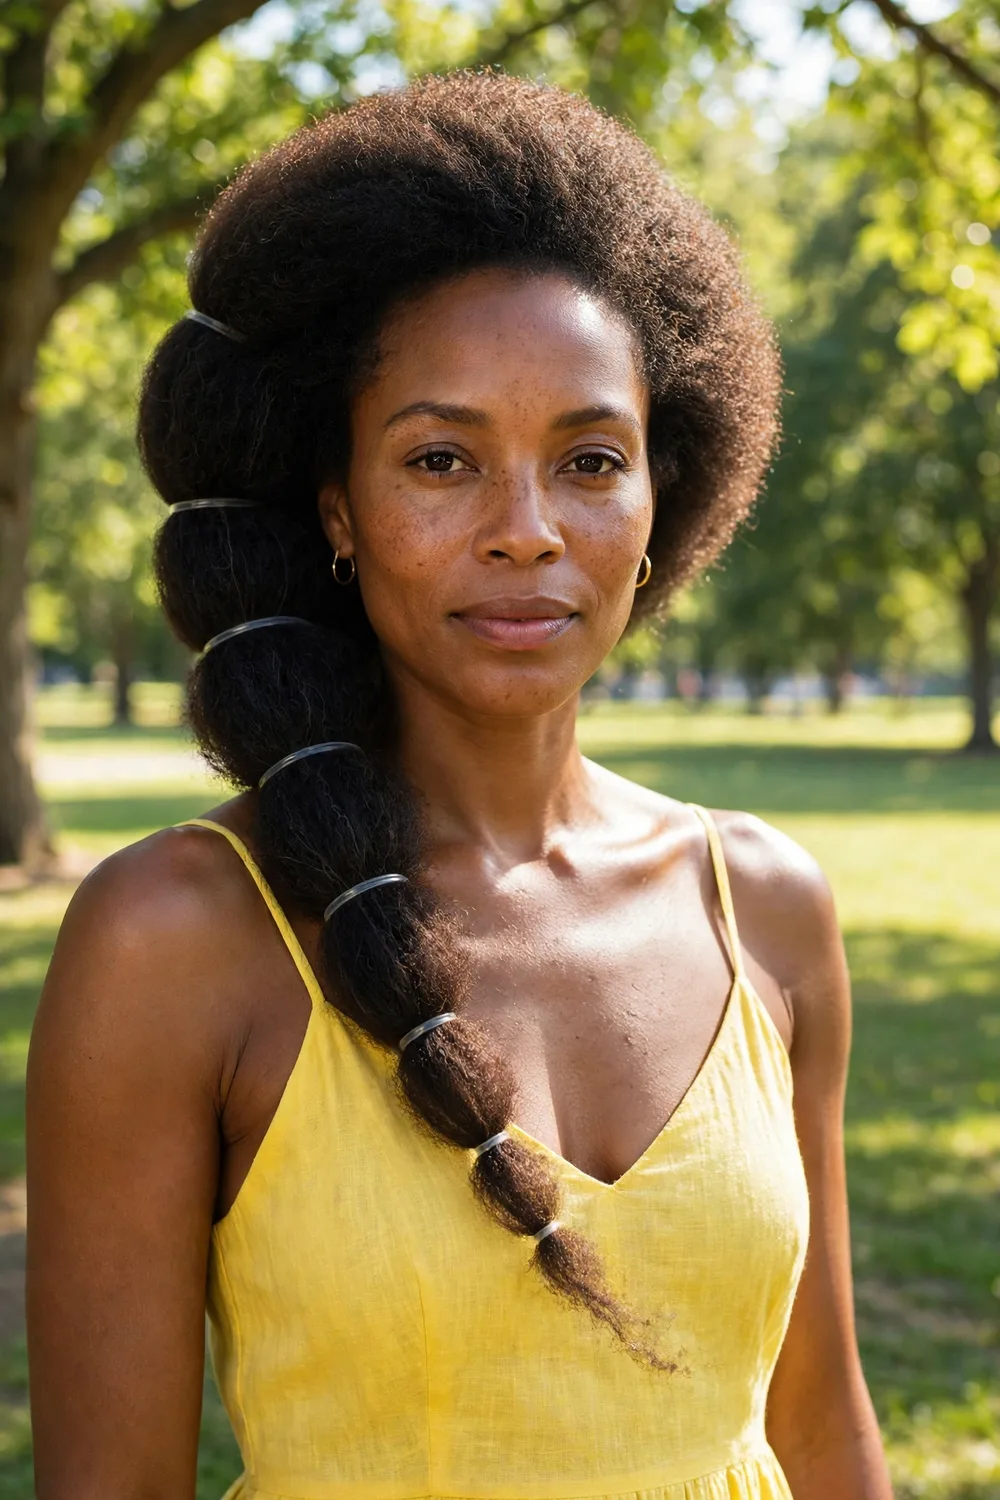
Shrinkage hides length — sometimes half of it. The heat-free stretched afro gets it back without a blow dryer: band damp hair in sections with soft ties, or thread it, and let it dry stretched. Unband to reveal an afro that shows its true length, with soft waves where the bands sat.
Band on damp, moisturized hair and keep the bands loose enough to slide — tight bands dent and snap. This is also the perfect base for twist-outs and braid-outs, since stretched hair twists and braids more evenly and dries faster.
Band damp, moisturized hair in even sections.
Use it as a base for twist-outs and braid-outs.
Banding soaking wet hair — it takes forever to dry.
Tight bands that dent or snap strands.
Conclusion
Twenty styles, one truth running through all of them: your texture is not a problem to solve. It is the feature. Whether you wear a wash-and-go that shows every curl, a twist-out with room-filling volume, or a silk press that swings, the best natural hairstyle is the one that fits your life — your mornings, your texture, your mood that week.
Start with the style that matches the hair you have today, not the hair you wish you had. Master one wash-and-go, one set style, and one updo, and you will never have a bad hair week again. Save this list, screenshot your favorites, and let your coils, curls, and afros do what they have always done best: stand out.