
15 Natural Hairstyles for Black Women Over 40 That Still Look Good on Day Four
Your hair at 45 is not the hair you had at 25, and most styling advice has not caught up. Strands can get finer. Edges can thin. Silver shows up at the crown first and refuses to curl like the rest. Then you scroll a feed full of twenty year olds with thick, tight coils…
Your hair at 45 is not the hair you had at 25, and most styling advice has not caught up. Strands can get finer. Edges can thin. Silver shows up at the crown first and refuses to curl like the rest. Then you scroll a feed full of twenty year olds with thick, tight coils and wonder why your twist out falls flat by lunch.
Here is the truth nobody puts in the caption. Your texture still has everything it needs. It just wants different handling: lighter products, gentler tension, and styles that work with the hair you have now instead of the hair you remember.
This list of natural hairstyles for black women over 40 is built around that. You will find cuts for fine edges, braids that do not tug, stretched styles for dressier days, and low effort looks for the weeks when wash day feels like a chore. Every style comes with a quick visual guide you can screenshot or save.
Start with the one that fits your next free Sunday.
1. Twist Out on Damp, Not Dripping, Hair for Definition That Lasts Past Day Two
Wet hair swells, then shrinks, and that is where your definition goes. Hair that is soaking when you twist it takes forever to dry and usually frizzes at the root.
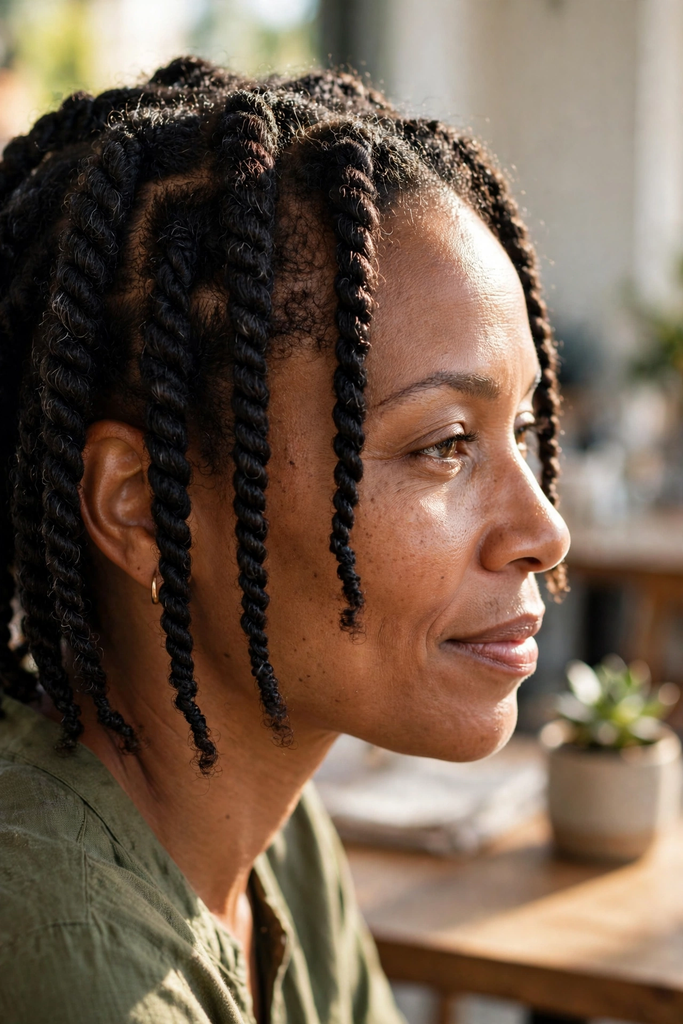
The damp hair method
- Section your hair into four to six parts and twist while it feels cool and slightly damp, like a towel that has been wrung out.
- Use a light cream or leave-in, not a heavy butter. Fine strands collapse under thick products.
- Make the twists smaller at the front, where your hairline is softer, and larger at the back.
Let the twists dry fully before you separate them. Rushing this step is the usual reason a twist out is gone by Tuesday.
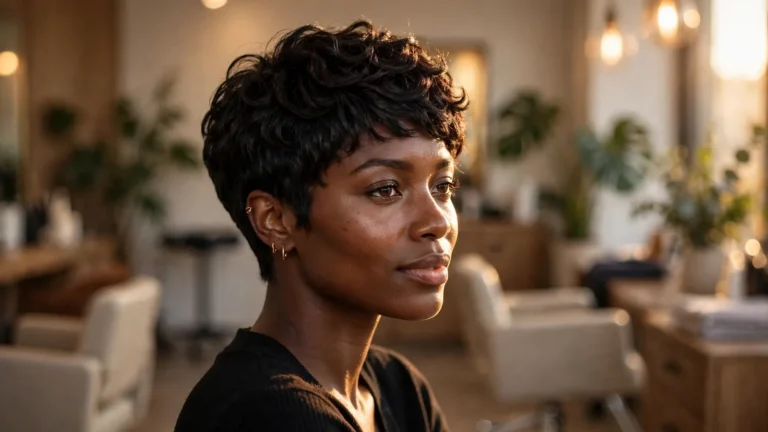
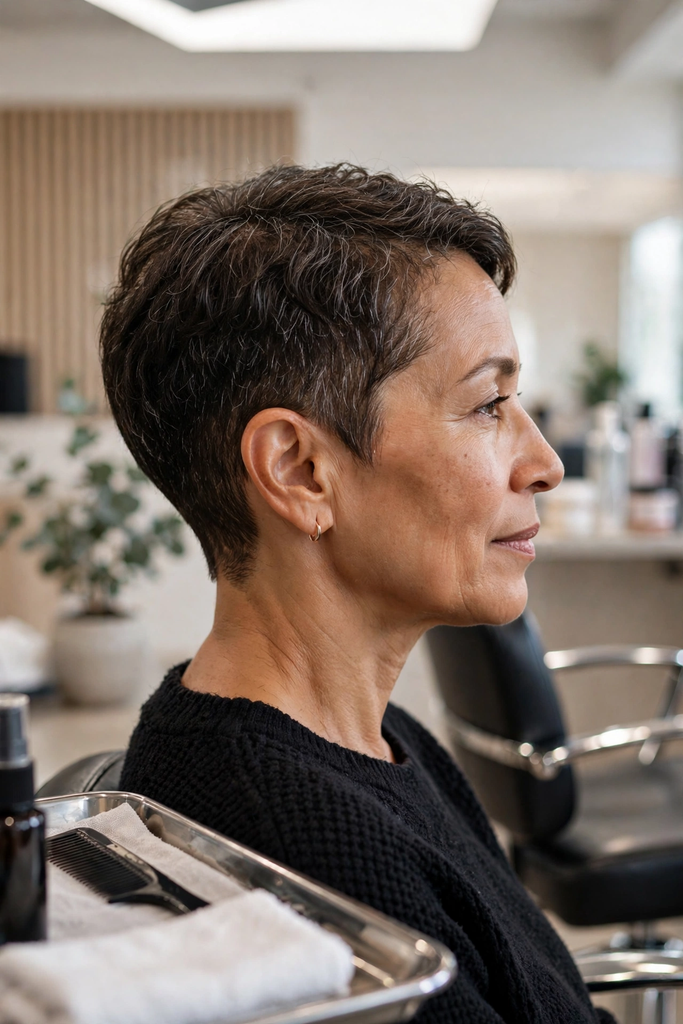
2. A Tapered Cut That Flatters Fine Edges and Takes Five Minutes a Day
Five minutes in the mirror and you are out the door.

A tapered cut keeps length on top and shortens the sides and nape, so the shape does the work and your edges stop being the focal point. If your hairline has softened over the years, those close sides make the whole look read as intentional.
What to tell your stylist
- Ask for gradual tapering at the temples and nape, not a sharp fade.
- Keep two to three inches on top so you can still twist or pick it out.
- Ask her to cut it in its natural state so she sees how it really sits.
Wash day shrinks to a rinse and a light leave-in. Book a trim every month or so to keep the line crisp.
💡 Quick Tip
Bring a photo of the shape you want on someone with a similar hairline and density. “Short on the sides” means something different to every barber, and a photo settles it in ten seconds.
3. Bantu Knot Out for Soft Volume With No Heat Tools
Look at the end result first: rounded waves with body at the crown and soft curl at the ends. No flat iron, no diffuser, no heat at all.

How the knots go in
- Part your hair into medium squares. Smaller parts give tighter, more defined waves.
- Twist each section from root to tip, then coil it flat against your scalp.
- Tuck the end under the knot so it does not poke out and frizz.
Sleep in a satin bonnet. In the morning, oil your fingers and unwind each knot slowly. Rushing it pulls the wave right out.
Hair that lies flat at the roots, with curls that sag by midday and a crown that looks a little sparse.
Rounded lift from the crown down, soft waves that hold their shape, and ends that curl instead of frizz.
4. Flexi Rod Set for Bouncy Curls on Shoulder Length Hair
Flexi rods turn shoulder length hair into spiral curls without heat. Thinner rods give tighter spirals, and thicker rods give looser waves.
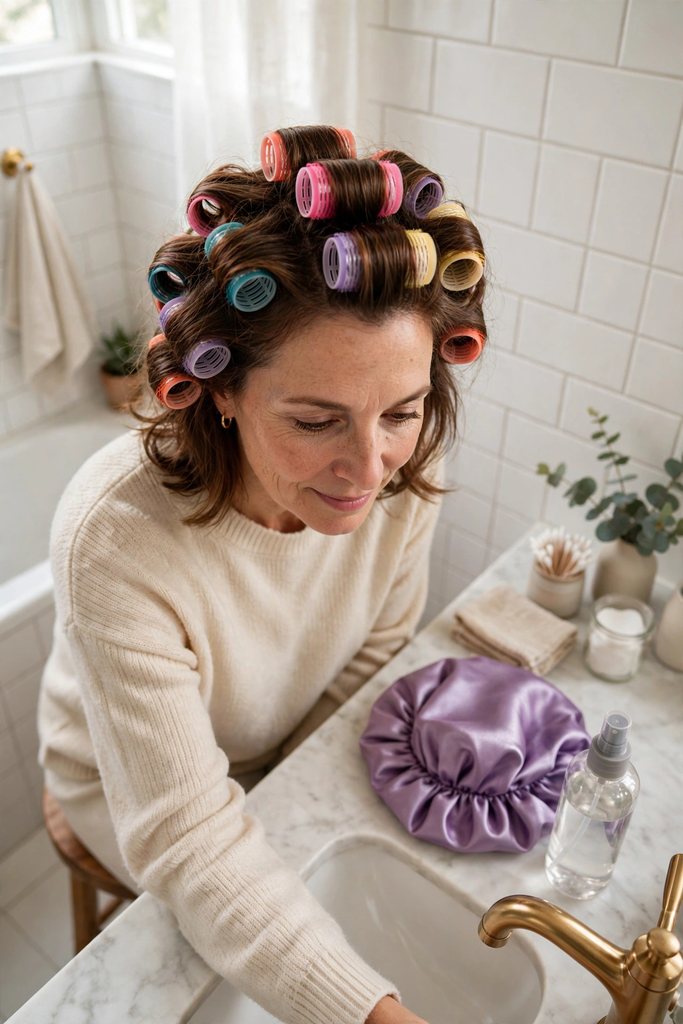
Damp hair takes the shape best. A soaking wet set can take a full day to dry, and a half dry set leaves flat patches you will notice in photos.
Where most sets go wrong
Sections that are too thin. Fine hair holds together better in sections about the width of the rod, no smaller. And go light on products, because a mousse or foam gives hold without the crunch.
Section damp hair and smooth a light foam through each section from root to end.
Wrap the ends around the rod, roll it up to the root, then bend the rod closed.
Let your hair dry fully under a satin bonnet or a hooded dryer. Unroll from the bottom up, then fluff with your fingers.
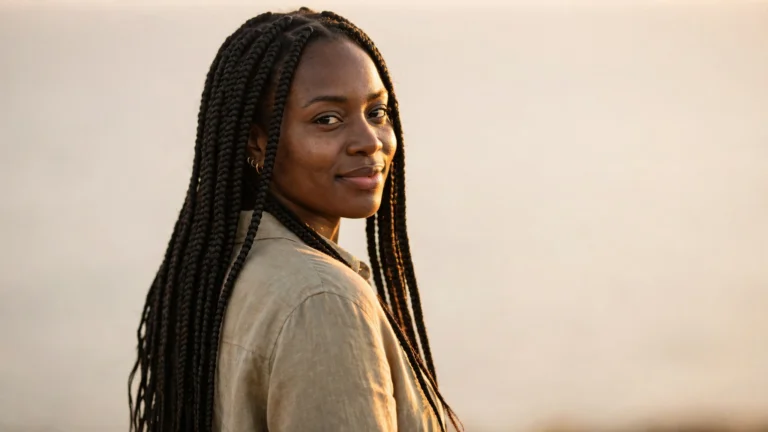
5. Medium Knotless Braids With Zero Tension at the Hairline
The biggest braid mistake after 40 is asking for them tight. Tight feels neat on day one and costs you edges by week three.
Knotless braids start with your own hair and feed the extension in gradually, so less weight pulls at the root. That helps, but only if the braider keeps the base loose.
What to say before she starts
- Ask for a medium size and a soft, loose hairline.
- Choose lighter extension hair, since heavy synthetic hair adds pull.
- Plan to take them down before new growth mats at the roots, and use a detangler.
If your scalp stings, speak up right away. Do not wait it out.
Ask for a soft, slightly loose base.
Pick extension hair that is lighter than it looks.
Moisturize the scalp between braid lines.
Slicking baby hairs down with strong gel and a tight pull.
Sleeping without a bonnet or satin scarf.
Keeping them in after tenderness or bumps show up.
6. Wash and Go or Twist Out: Which One Fits Your Curl Pattern
Both styles show off natural texture, and they behave very differently once they dry.

The short version
A wash and go lives on wet hair, with product raked through and left alone to dry. It gives soft, bouncy curls, but looser patterns tend to fall faster. A twist out takes more time up front, and the twisting gives tighter coils a stretched, fuller shape that holds longer. Your hair often looks different on each side of your head, so try both before you commit.
Pick the wash and go if you have defined curls that clump on their own. Pick the twist out if your coils shrink a lot and you want length and shape.
| Wash and Go | Twist Out |
|---|---|
| Done in one wash day session | Needs twisting time, then drying time |
| Soft, natural clumps | Stretched, fuller shape |
| Looks best on day one and two | Often looks good into day four |
| Works well on looser curl patterns | Works well on tighter coils |
7. Silver Strands Blended Into a Defined Crown Instead of Hidden
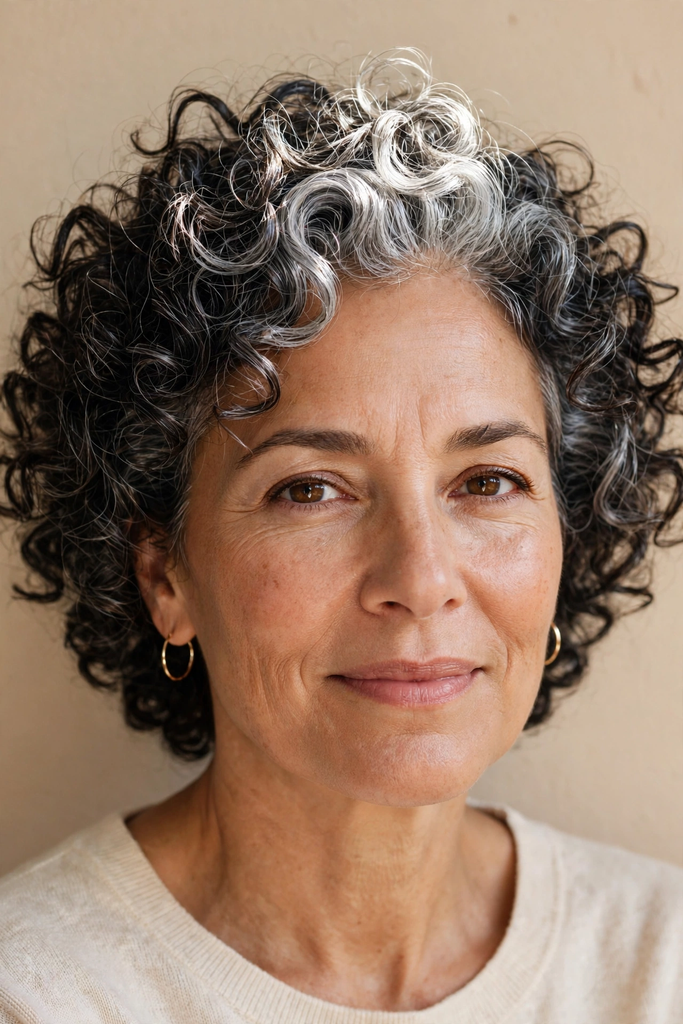
Gray hair is not a flaw you have to cover. The real problem is that silver strands often feel drier and wirier than the rest, so they refuse to curl when everything around them does.
What silver hair asks for
- More moisture, since those strands tend to take in product differently.
- A bit of shine, from a light oil or a gloss, so the silver looks bright instead of dull.
- Clean ends, because a ragged edge makes gray look rough.
Style the crown first. That is where silver shows up most, and where a defined curl pays off most.
Silver reads as a choice when the curl is clear.
8. A Pineapple Puff and Satin Wrap Routine That Saves Your Curls Overnight
Here is the rule: nothing tight touches your hair at night.
A pineapple means gathering your curls loosely at the top of your head, so they stay off your neck and do not get crushed against the pillow. Use a soft, wide band, not a thin elastic that leaves a dent. Then cover everything with a satin bonnet or scarf.
The morning after
Shake your head. Fluff the base with your fingers. If the ends look dry, smooth on a little water and oil, not more product. Pineapple tends to work best on hair about chin length or longer, so on shorter hair, skip the puff and go straight to the bonnet.
Keep these by the bed
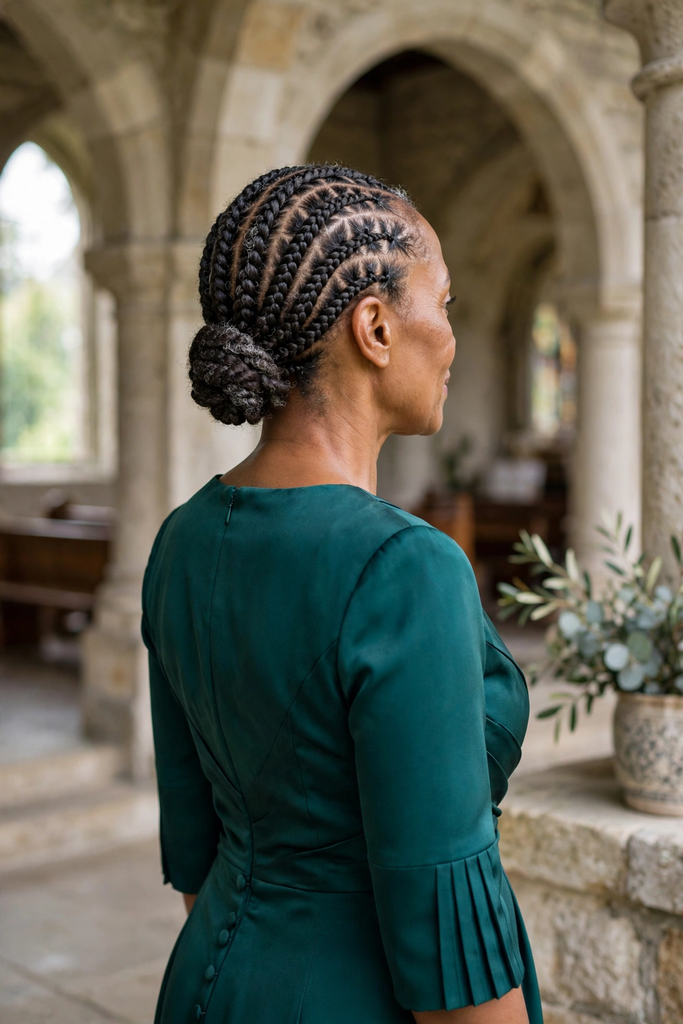
9. Low Bun With Flat Twists for Weddings, Church, and Work Events
The invitation says four o’clock, and by three your hair still has no plan. A low bun with flat twists fixes that in under an hour.
How it goes together
- Flat twist two or three rows along each side, working back toward the nape.
- Gather the length and the loose twists at the back of your neck.
- Wrap and pin the bun loosely, then lay a few curls out around your face.
It looks finished from every angle, including from the pew behind you. No heat, no stiff gel, and nothing digging at your edges.
Keep the bun loose and low. A loose bun looks dressy, and a tight one only strains your hairline.
10. Rope Twists on Short Natural Hair for a Clean, Polished Finish
Most people twist short hair too soon, before it has enough length to hold the twist. Wait until you have at least two to three inches to work with, and use a bit of gel to grab the ends.
Doing it cleanly
- Part your hair into even rows with a rat tail comb.
- Twist two strands around each other, rolling toward the ends.
- Seal the ends with a dab of oil so they do not unravel.
Twist in the same direction you would flat twist, to keep the pattern tidy. They stay neat for a couple of weeks and look polished in every room. Sleep in a bonnet to protect the ends.
⚠️ Watch Out
Heavy wax or thick gel builds up fast on fine hair and can leave white flakes. Use a small amount, and give your hair a good wash before the next set.
11. Halo Braid for Hair Growing Out From a Big Chop
The in between stage is the hardest part of a grow out. Your hair is too long to wear as a tiny crop and too short to put up, so it just sits there.
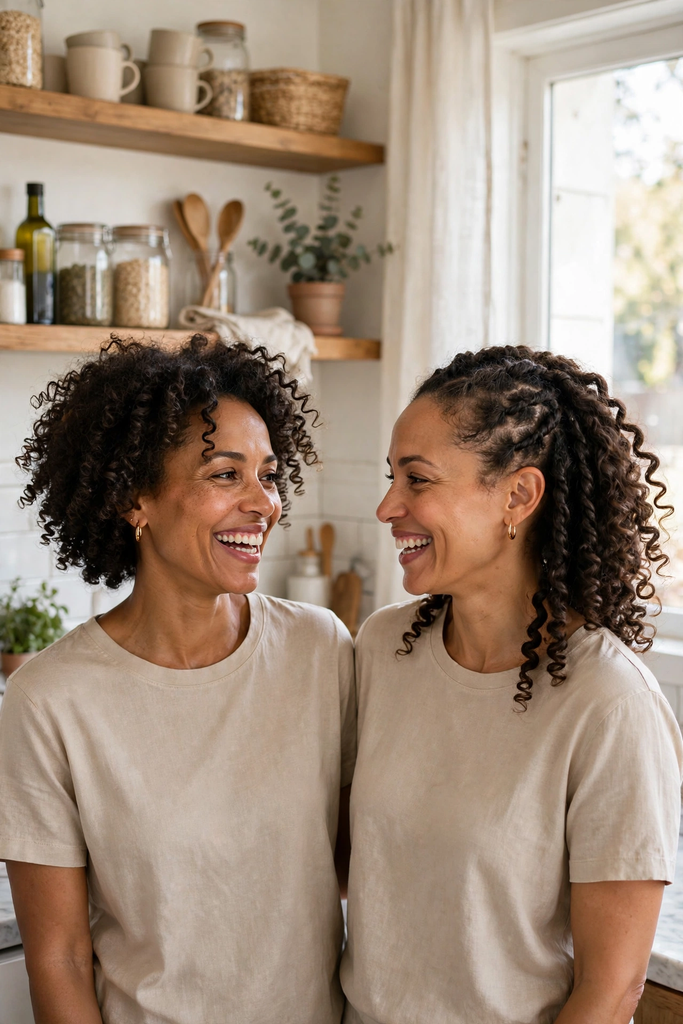
A halo braid gives it a job. Once you have around four inches, you can braid or flat twist a band that circles your head like a crown, and the loose ends stay tucked in the middle or fluffed on top.
What helps it stay put
- Start the braid at one temple and work around, keeping the pieces small so they grip.
- Pin the end under the first section with a couple of bobby pins.
- Fluff the top with a pick for a soft, full center.
It also hides the uneven patches that show up as the length catches up.
Uneven grow out length, shrunken curls that go in every direction, and nothing that feels like a style yet.
A neat braided band around the head, a soft fluffed center, and the awkward lengths tucked out of sight.
12. Curly Fro With a Deep Side Part to Soften the Face
A middle part sits very straight on a round fro. Move it off to one side and the whole shape shifts, with one side sweeping across the forehead and the other side open.
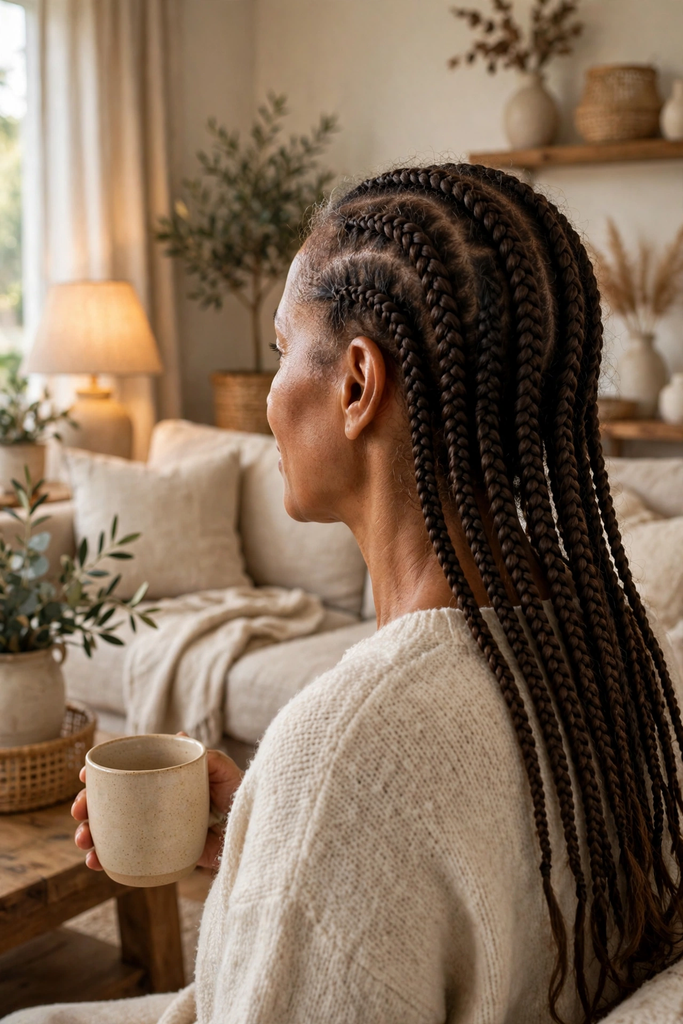
Hairdressers like this for a reason. A deep side part adds lift at the crown and draws the eye up and across, which can balance a wider forehead or a fuller jaw.
Wet hair will not tell you where the part wants to be. Check it dry, then style around it.
Pick out your dry hair gently, then use a rat tail comb to draw the part from the arch of your brow back.
Sweep the heavier side across and rake your fingers through it to lift the roots.
Mist lightly with water and finish with a pea sized amount of curl cream on the front pieces.
13. Two Strand Twist Updo for Fine, Low Density Hair
Low density hair does not mean low style options. It means the style has to be built to look full.

Start with small two strand twists all over, and keep them damp when you set them so they dry with a little body. Then pile them loosely at the crown instead of pulling them tight. Tight updos on fine hair show the scalp between the twists, and that is the thing you are trying to avoid.
Make it look fuller
- Twist a bit larger at the back, so the pile looks thicker.
- Pin the twists in a loose swirl, not a flat circle.
- Gently pull the twists apart at the top, which spreads them wider.
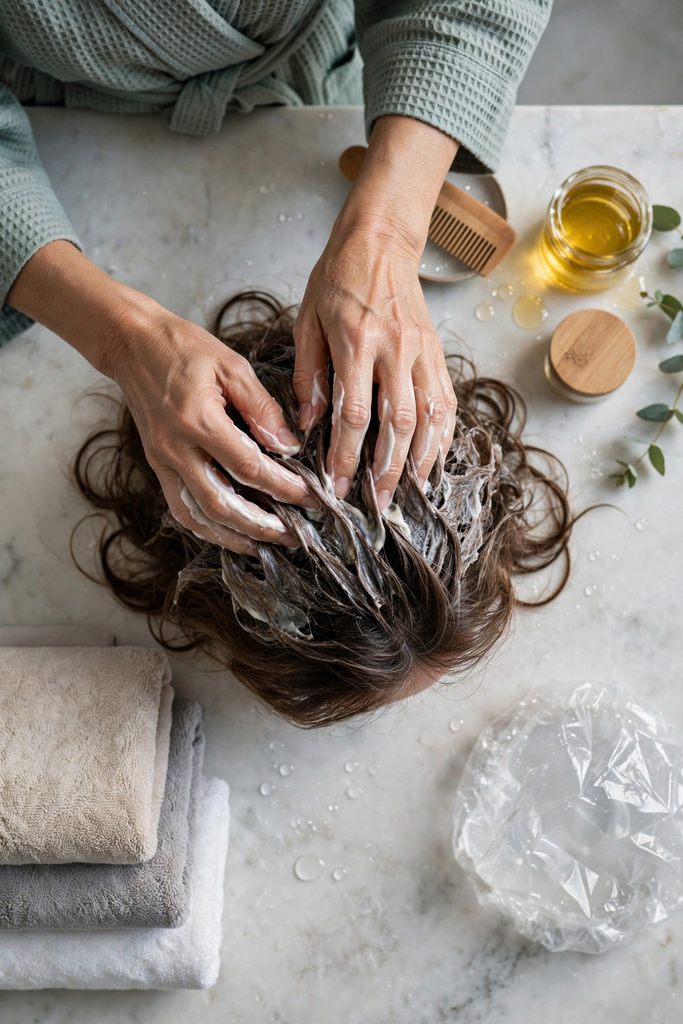
14. Deep Condition the Night Before You Style, Not the Same Day
Skipping this step shows up on day two, when the curls that looked great start to feel crunchy.

Deep conditioning the night before gives your hair time to take in the moisture and settle. When you style the next morning, the strands are softer, so your twists, braids, or flexi sets wrap more easily and cause less snapping.
Seal with a light oil. Cover with a plastic cap or satin bonnet and go to sleep. Rinse in the morning with cool water, and then start your style. Do not double up on heavy products. Over conditioned hair goes limp, so use the conditioner you trust and leave it at that.
Night before checklist
15. Headwrap Over Twists for the Days You Have No Energy for Hair
Some mornings you do not want to style anything.
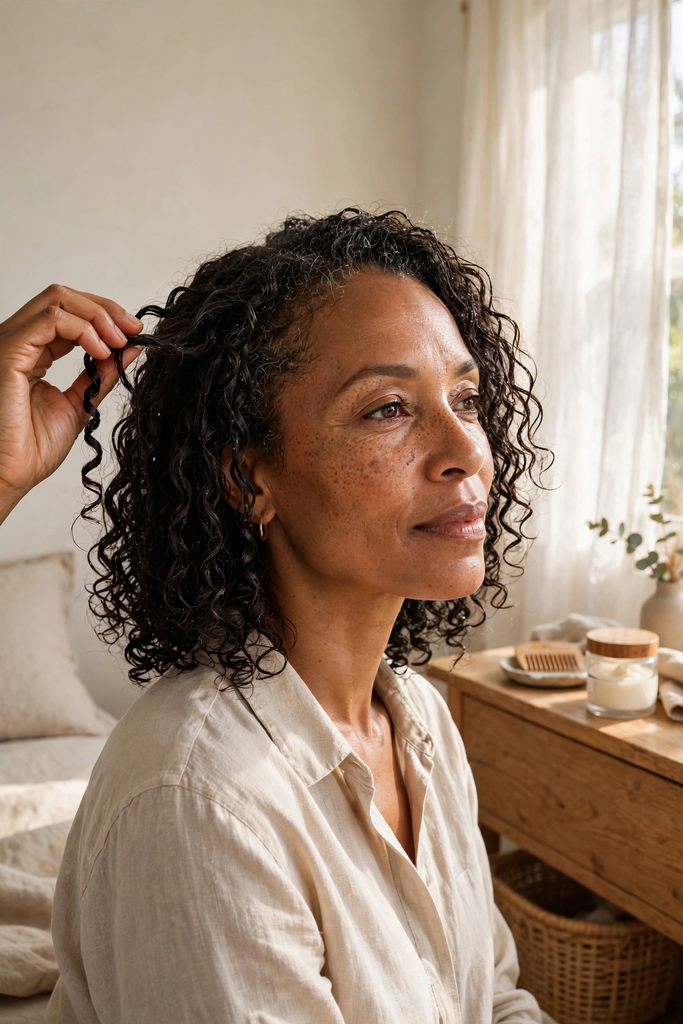
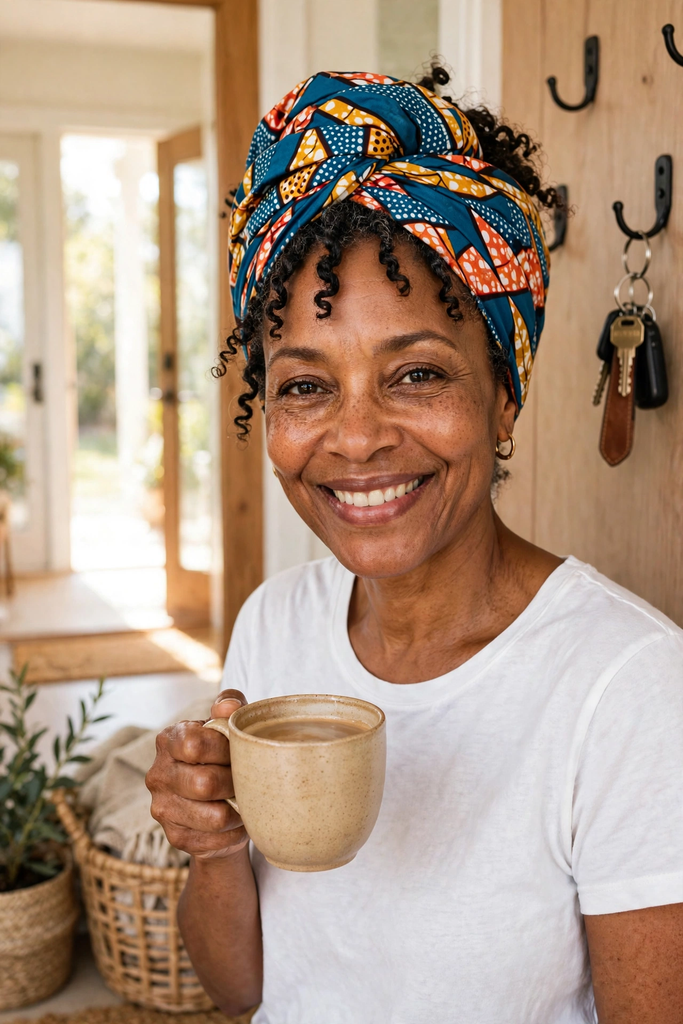
Keep a set of twists in for exactly those mornings. Then a headwrap does the rest. Fold a large scarf into a long band, set it at your hairline, and tie it at the crown or nape. It covers the sections you have not fussed with and lets the front twists peek out.
Two things that matter
- Choose a soft fabric like satin lined cotton so it does not tug at your edges.
- Tie it snug, not tight. If it leaves a mark on your forehead, loosen it.
The wrap gives you a finished look in about two minutes, and your hair gets a rest from handling.
A low effort hair day still needs gentle fabric and a loose fit. Protect your edges even when you are in a hurry.