
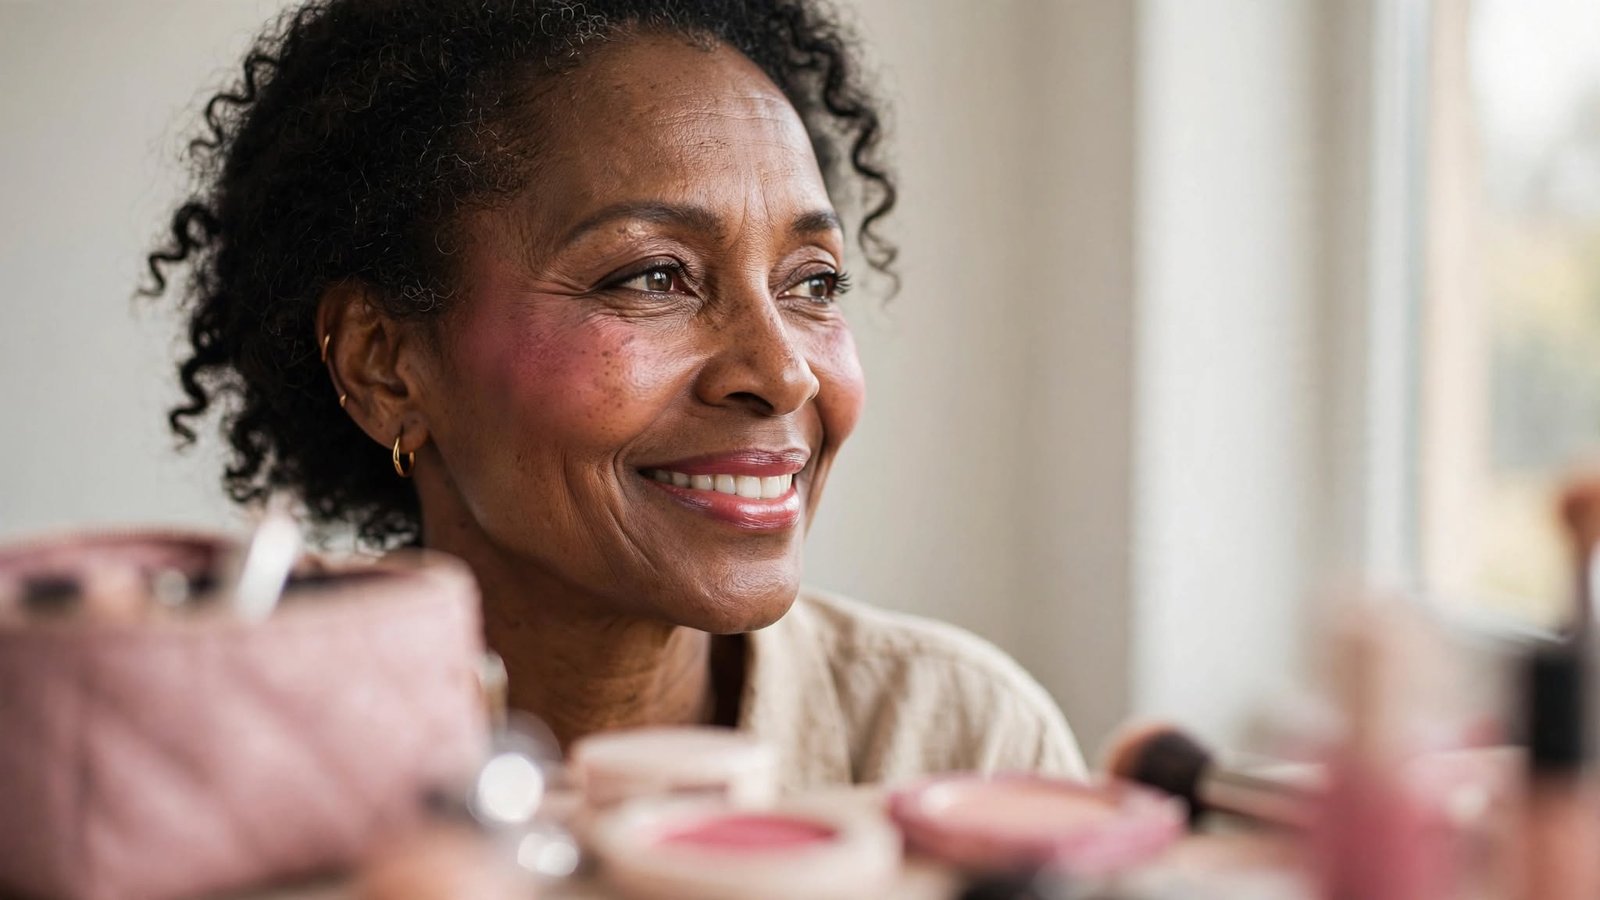
Your Foundation Isn’t the Problem: Makeup for Mature Black Skin Over 40
The foundation that looked flawless at 35 now collects in the lines around your mouth by lunchtime. The blush lands in the wrong spot. The concealer that used to hide everything now points straight at it. Nothing is wrong with you or your skin. It is just different. After 40, skin tends to get drier,…
The foundation that looked flawless at 35 now collects in the lines around your mouth by lunchtime. The blush lands in the wrong spot. The concealer that used to hide everything now points straight at it.
Nothing is wrong with you or your skin. It is just different. After 40, skin tends to get drier, a little thinner, and more uneven in tone, and the routine you learned years ago was built for skin that has moved on.
Makeup for mature Black skin over 40 works best when it gets lighter, creamier, and more intentional. That does not mean less color or fewer steps. It means swapping a few habits so your face looks like itself on a good day, only rested.
Below are 15 changes you can make one at a time. Start with the first five, since a better base makes every product after it behave. Take what fits and leave the rest.
Match Foundation for Mature Black Skin at the Jaw, Not the Wrist
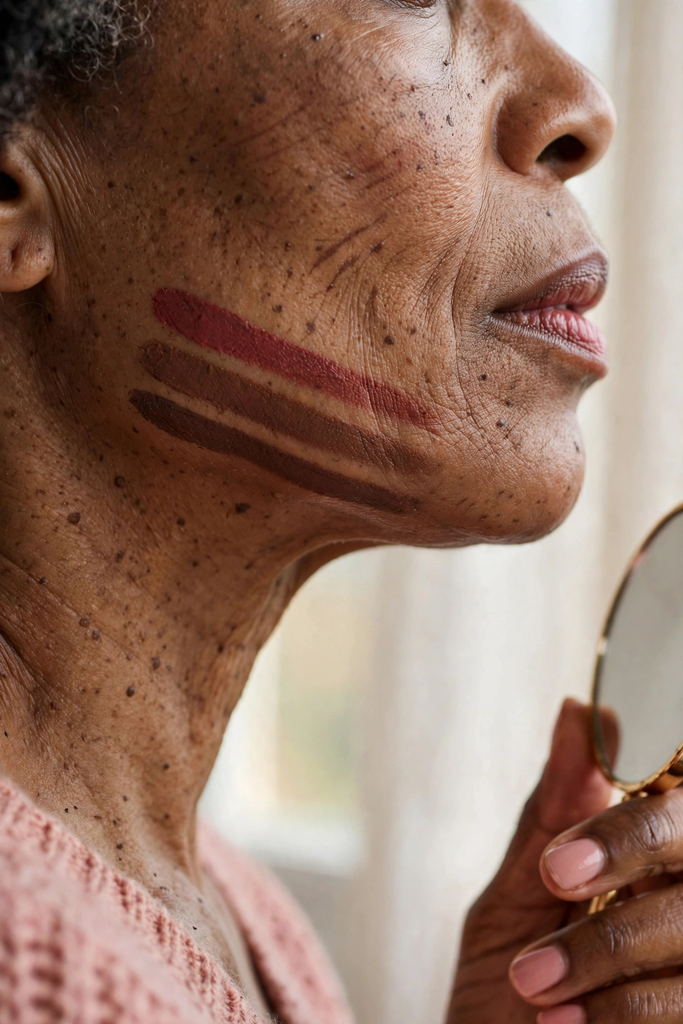
Your wrist is the wrong place to shade match. It is usually lighter than your face and gets a different amount of sun. Your jaw sits right where foundation has to blend into your neck, so it shows you fast whether a shade will disappear or leave a line. Always test by a window, because store lighting can make the wrong shade look right.
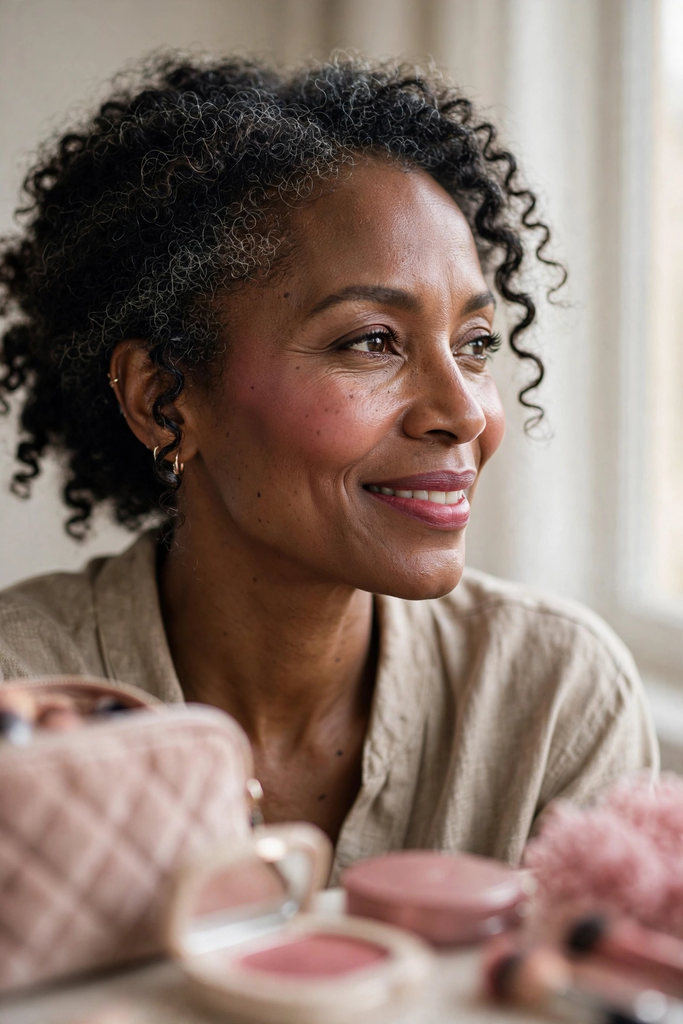
If your face and neck are a bit different, choose the shade that sits between them and blend down.
Swipe three shades in short stripes along your jawline, from cheek toward neck.
Carry a small mirror to a window and check them in daylight.
Wait about ten minutes, since some formulas darken as they set, then pick the stripe that seems to vanish.
Recheck Your Undertone Before You Rebuy Your Old Shade
Rebuying the same shade out of habit is the easiest mistake to make. Skin changes, and so can how a formula looks on it. Dryness, sun, and uneven tone can make your face look more golden, redder, or more ashy than it did a few years ago.
Clues your old shade is off:
It turns gray or ashy within an hour.It looks right in the bottle but orange on your face.Your neck looks warmer or deeper than your face
Next time, ask for samples from two different undertone families before you commit
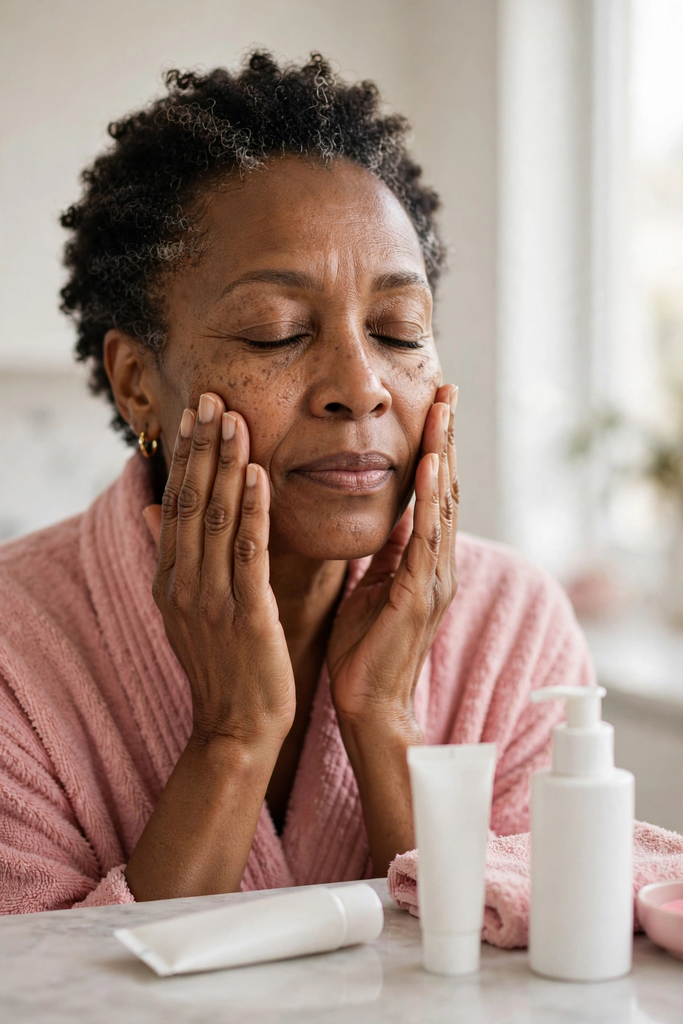
Give Your Skin Two Minutes of Moisturizer and SPF Before Any Color Goes On
Makeup sits better on skin that is not thirsty. Dry skin grabs at foundation, which is how patchy cheeks and deeper looking lines get started. Give each layer about a minute to sink in before you add the next one. That pause is most of the trick.

Skipping the wait is also what causes pilling, so use the time to brush your teeth or pick your earrings.
Your two minute prep
Swap Powder Foundation for a Skin-Like Cream or Serum Formula
A matte powder base can look smooth in the compact and flat on the face. Powder tends to sink into fine lines and cling to dry patches, which can make skin look older, not smoother. Cream foundations, serum foundations, and tinted moisturizers reflect light more softly.

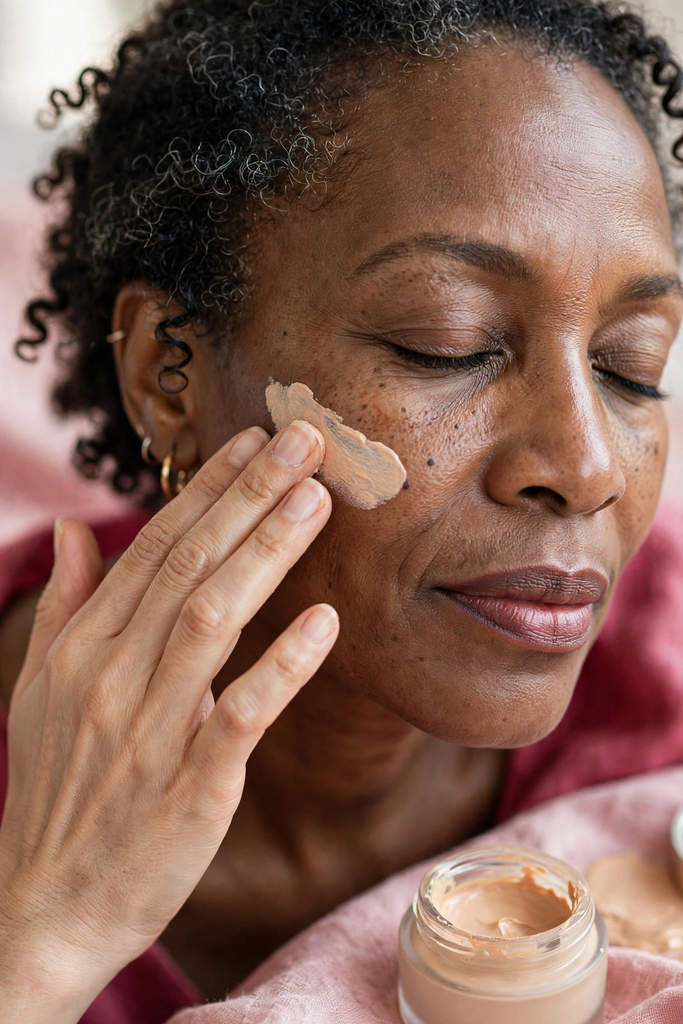
Press a small amount in with your fingers, then add a second layer only where you need it. Less product, more skin.
A matte powder base by noon: lines look deeper, dry patches show, and the color looks flat.
A thin cream or serum base: skin looks softer, light bounces off it, and the tone stays even.
Place Concealer in Two Spots Instead of Covering the Whole Eye Area
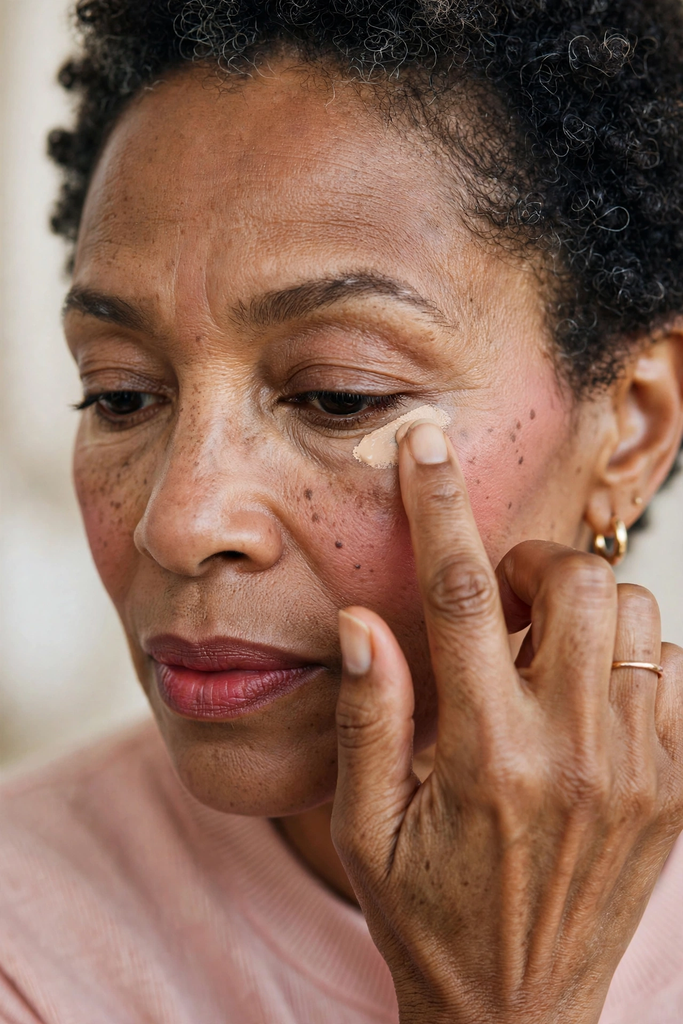
Look closely in daylight and the shadow under your eyes is rarely one even band. For many people it gathers at the inner corner and along the outer edge. A thick layer across the whole area is what makes concealer crease, so put it only where the shadow really is, then tap the edges outward with your ring finger.

Choose a creamy formula in your skin tone or half a step brighter, never several shades lighter.
💡 Quick Tip
Apply foundation first and look in the mirror before you reach for concealer. Foundation often softens part of the shadow, so you end up using less.
Move Cream Blush Higher and Choose Warm Berry or Rose Tones
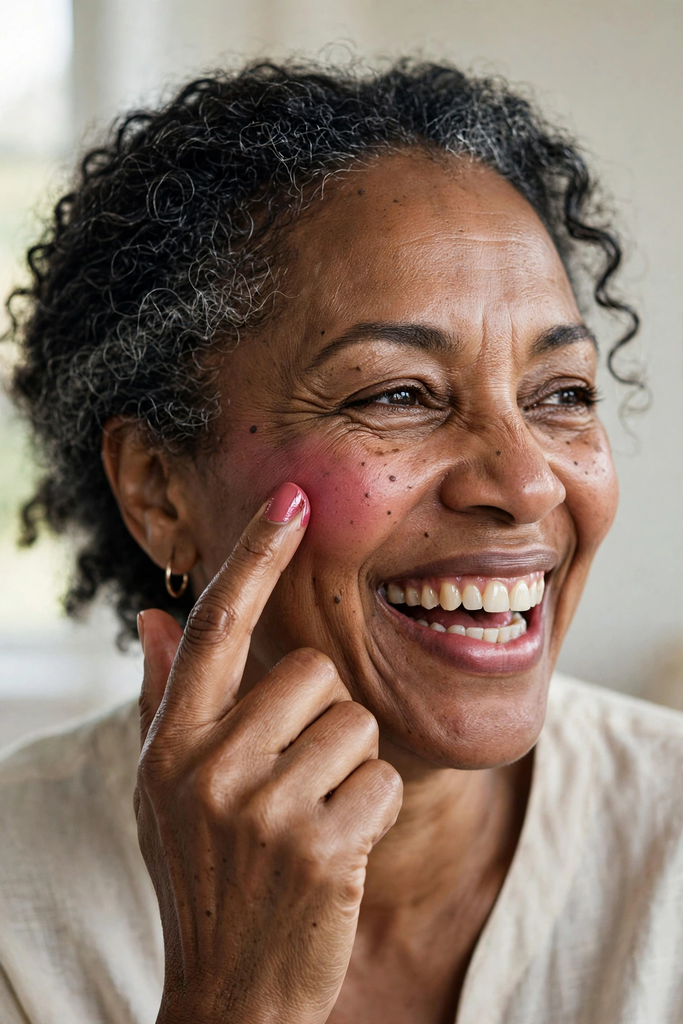
Blush that sits low can drag a face down. Place it higher. Smile, find the round part of your cheek, and tap the color there, then sweep it up toward your temple. That lift happens with no extra effort. Cream formulas melt into skin and look like a flush, while powders can settle into texture.

On deeper skin, shades like warm berry, rich rose, and soft brick tend to show up clearly without turning ashy. Pale pinks often vanish.Tap it in with your fingers and stop when you see a hint of color.
Choose Satin Eyeshadow Over Glitter for Lids That Have Changed
Glitter and heavy shimmer catch every bit of texture on the lid. Satin shadows give a soft glow without highlighting each crease. Matte shades work well for definition, especially in the crease, because they do not reflect light. You can still use shimmer, just keep it to a small touch at the center of the lid. Many people find that fewer, softer colors look more polished than a full palette.
Satin first. Shimmer second.
| Satin or matte | Glitter or heavy shimmer |
|---|---|
| Softens the look of texture | Can make creases and crepey spots stand out |
| Blends easily with a fluffy brush | Often needs a sticky base and can flake |
| Works for day and evening | Best saved for a small accent on the lid center |
Soften Your Eyeliner With Brown Pencil and a Quick Smudge
Black liner in a thick line can make eyes look smaller as the lid softens. A deep brown pencil gives definition without the hard edge. Draw close to the upper lashes, use short strokes, then smudge the line with a small brush or a cotton swab for a few seconds before it sets. The line should look like it grew there.

Skip the inner lower rim, since it tends to close the eye in.
Hold your eye open while you smudge, or the liner will end up on your lid.
Use a creamy brown pencil along the upper lash line.
Smudge the line quickly while it is still soft.
A thick black wing that sits on a hooded lid.
Heavy lines on the inner lower rim.
Fill Sparse Brows With Light Hair-Like Strokes, Not a Solid Block
Brows often thin out a little with time, especially at the tails. A solid block of color looks drawn on, and it ages the face quickly. Tiny flicks that follow the direction of your own hair look natural. Pick a shade a touch softer than your hair color, since brows that are too dark read as harsh.
Brush them up and out with a clean spoolie when you finish. That one step blends everything.
Brush your brows upward to see where the real gaps are.
Use a fine pencil to draw short flicks only in the gaps, starting at the thinnest part.
Run a clean spoolie through to blend the strokes into your own hair.
Set with a clear or tinted brow gel brushed up and out.
Line Your Lips First, Then Pick a Creamy Color That Will Not Settle
Lipstick that creeps past the lip line is a common frustration after 40. Lips lose some of their edge, and thin, dry texture lets color slide. A pencil that matches your lip color keeps the shape in place, and a creamy formula glides on without catching on dry spots. Skip very matte, dry formulas unless you are willing to prep your lips well.

Press the color on with a lip brush or your fingertip, then blot once with a tissue.
Line first, then fill in with a creamy color, and blot once. That order keeps your color where you put it.
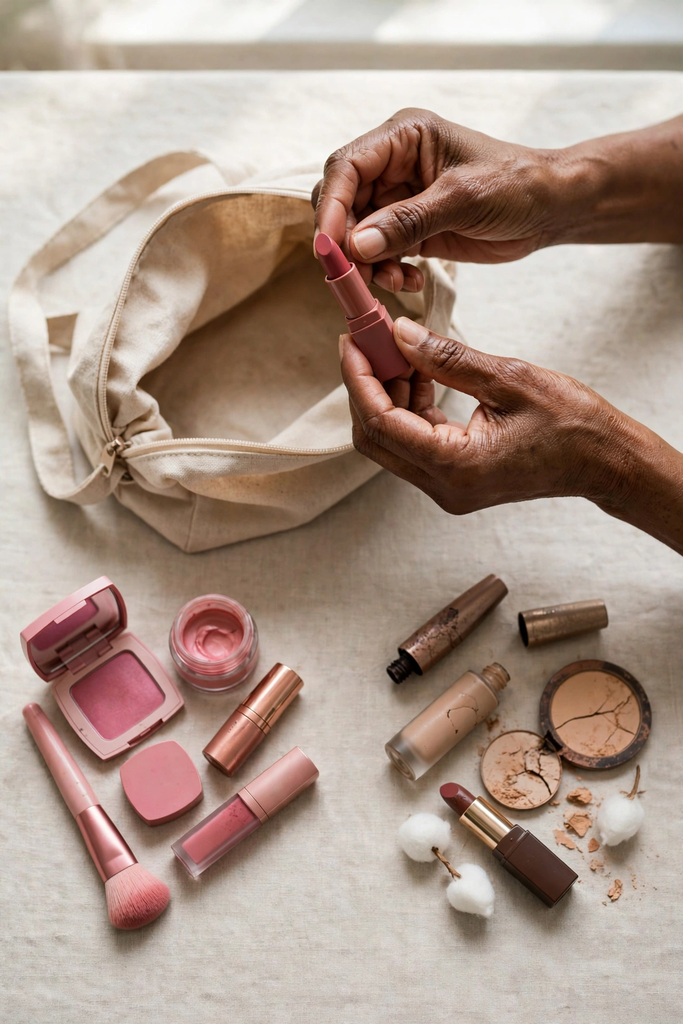
Sort Through Your Makeup Bag and Keep Only What Still Works
A bag full of products from five years ago is a bag full of habits you may have outgrown.
What to Check as You Sort
Pull everything out and look at each product in daylight. Does the shade still match? Does the formula still feel comfortable? Is the texture or smell off? Remove anything that fails.
What to Keep Close
Keep the few things you reach for on a rushed morning. Store the rest in a separate pouch so your daily bag stays small and easy.
Sort your bag with these questions
Use Your Fingers and a Damp Sponge for the Base, and a Fluffy Brush for the Rest
Your tools change how the same product looks on your skin.
Fingers and Sponge for Cream Products
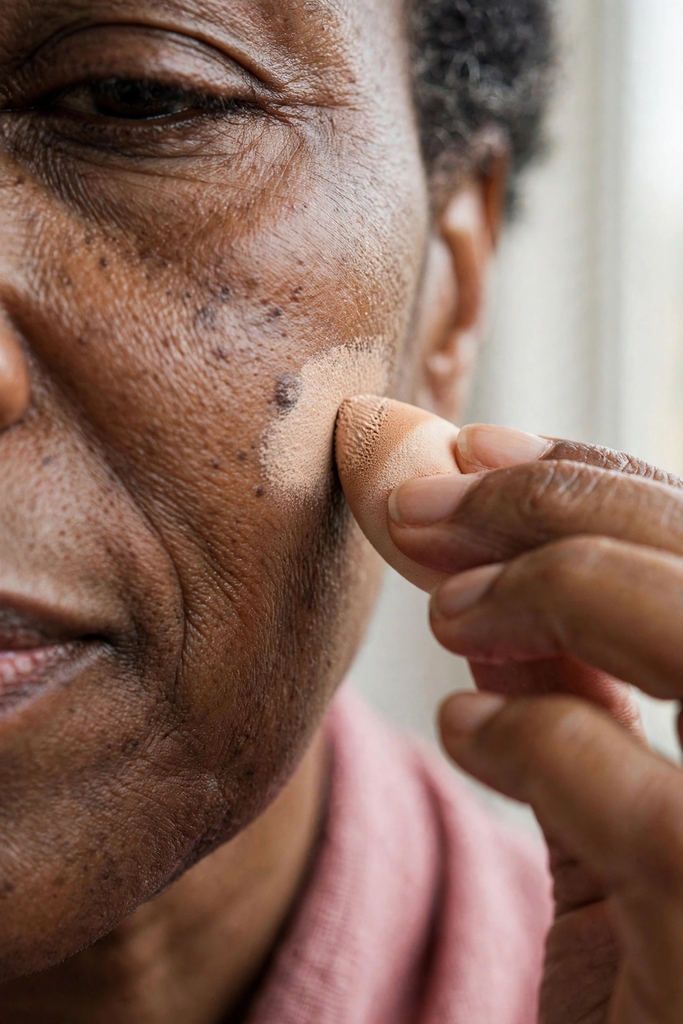
Warm cream foundation and concealer melt into skin when you press them in with your fingertips. A damp sponge pats away the extra and leaves a thin layer.
A Soft Brush for Powders and Blending
Use a fluffy brush to blend shadow and place powder lightly. Stiff brushes can drag on drier skin. Wash sponges and brushes often, since they hold product and bacteria.
Set Only the Spots That Slide, and Skip Baking
Powder over your whole face is where a soft base starts to look dry.
Where Powder Actually Helps
Most of the shine and sliding happens in a few places, like the sides of the nose, the chin, and the center of the forehead. Dust a small amount of powder there with a fluffy brush and leave the cheeks alone.
Choose a Powder That Will Not Turn Ashy
Pick a finely milled powder with a tint close to your skin, since some translucent powders can leave a gray cast on deeper tones.
⚠️ Watch Out
Heavy baking, where powder sits on the skin for several minutes, can emphasize fine lines and dry patches. Use a light touch and take a photo with flash to check for a gray cast.
Build Coverage Over Dark Spots in Thin Layers, Not One Heavy Coat
One thick layer over a spot is easy to spot from across the room.
Why Thin Layers Look Better
Thin layers let your real skin show through, so the spot fades into the rest of your face. Pat on a small amount of base, let it set for a minute, then add another only where you still see color.
The Final Touch
Tap a concealer that matches your skin tone onto the spot only, and blend just the edge with your fingertip.
One heavy layer of product: the spot is covered but the patch looks thick and a different texture from the rest of your skin.
Two or three thin layers, tapped in and blended at the edges: the tone looks even and your skin still looks like skin.
Take Makeup Off Gently Every Night, Even When You Are Tired
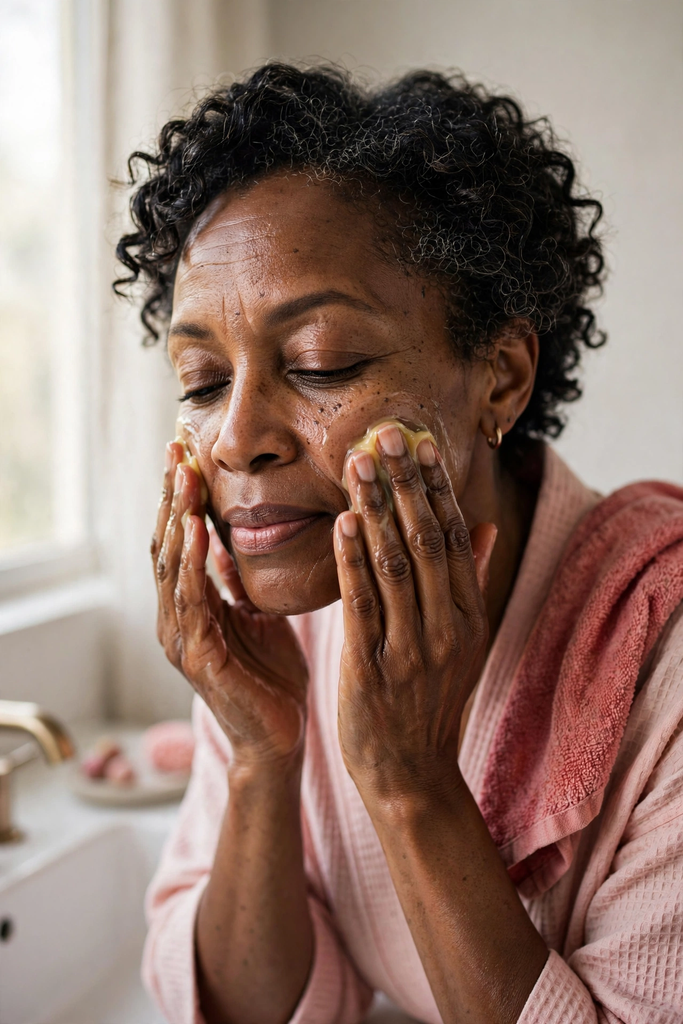
Rubbing off makeup with a rough cloth can irritate skin, and irritation is the last thing you want. Dissolve Before You Wipe Start with a cleansing balm, oil, or micellar water to loosen the makeup, then rinse or wipe softly. The more you let the product do the work, the less you need to rub. Rinse and Hydrate

Follow with a gentle cleanser if you want, then add a moisturizer while skin is still slightly damp.
Press a cleansing balm or oil onto dry skin and massage it in for about a minute.
Hold a warm damp cloth on your eyes for a few seconds, then wipe lightly outward.
Rinse with lukewarm water, pat dry, and moisturize.
Add Highlighter Only on the High Points, and Pick a Soft Glow Over Sparkle
Highlighter should look like light hitting your face, not like glitter.
Where to Put It
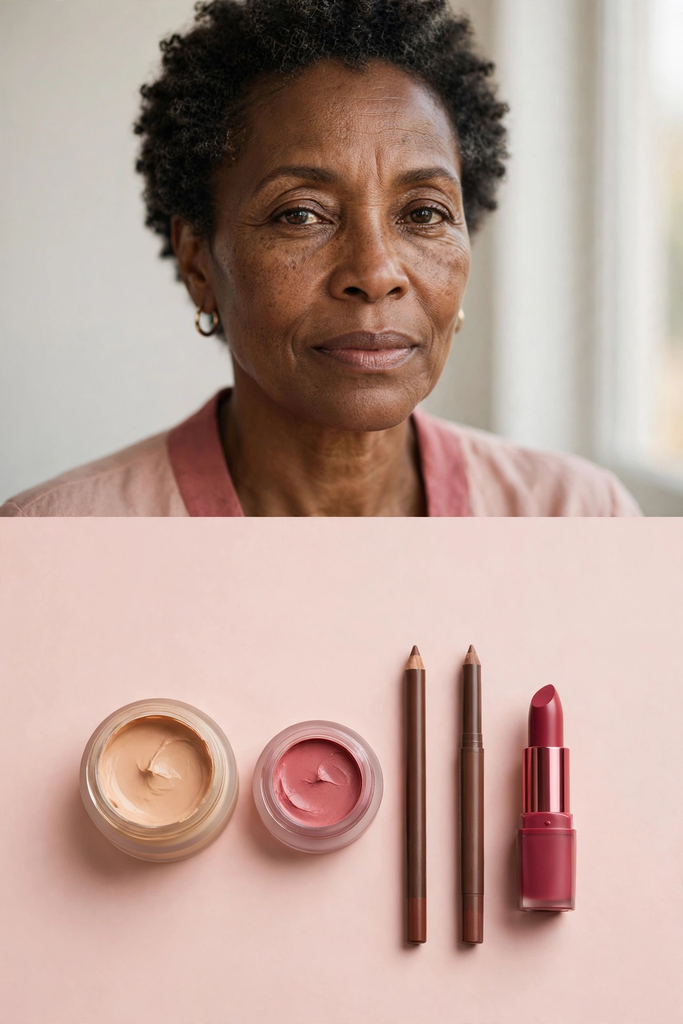
Tap a small amount on the tops of your cheekbones, the bridge of your nose, and the center of your cupid’s bow. Leave it off areas with texture, like the center of the cheeks or under the eyes.
Shades That Flatter Deeper Skin
Gold, bronze, and warm copper tones look natural on deeper skin and avoid the chalky look of pale pink or silver.
Use a cream or liquid highlighter in a gold or copper tone.
Tap it on cheekbone tops with your fingertip.
Chunky glitter or silver shimmer across the whole cheek.
Highlighter on lines, pores, or dry patches.
Curl Your Lashes, Then Choose a Mascara That Lengthens Instead of Clumps
Lashes often get shorter and finer over time, and a heavy mascara can make them look sparse. Start With a Curl. Curl your lashes before mascara, holding for a few seconds at the base. This opens the eye without adding anything.Pick the Right Formula.Wiggle the wand at the roots, then pull through. A lengthening formula keeps lashes separate. Add a second coat only to the outer corners.
| Lengthening mascara | Heavy volumizing mascara |
|---|---|
| Keeps lashes separate and defined | Can clump on fine lashes |
| Works well with one or two coats | Often needs several coats for the effect |
| Easier to remove at night | May take more rubbing to remove |
Keep a Mini Touch-Up Kit in Your Bag for the Middle of the Day
A small kit saves you from the mirror panic at 2 p.m.
What Goes in the Kit
Choose a few small items that fix the usual trouble spots, like shine on the nose or color that has faded from your lips. Keep them in one pouch so you can grab it without thinking.
Use a Light Touch
Blot first, then add color. Pressing product over oily skin is what makes makeup look patchy.
Your mini touch-up kit
Learn a Five Minute Everyday Face and a Slightly Fuller Evening One
Two simple routines beat a long list of steps you will never repeat.
The Everyday Version
Keep it light: base, a little concealer, cream blush, brow gel, and lip color.

The Evening Version
Start with your everyday face and add one or two things. A soft brown liner, a satin shadow, and a second pass of blush are enough.
Tinted base, two spots of concealer, cream blush, brow gel, lip color.
Everyday face plus brown liner, satin shadow, a second pass of blush, and a deeper lip.
Change One Product at a Time and Give It a Week Before You Judge It
Swapping your whole routine in one go makes it impossible to know what is helping.
Why One at a Time Works
When you change a single product, you can see how it behaves on your skin and what it does under your other products. If something irritates, you know the cause right away.
How to Check Your Results
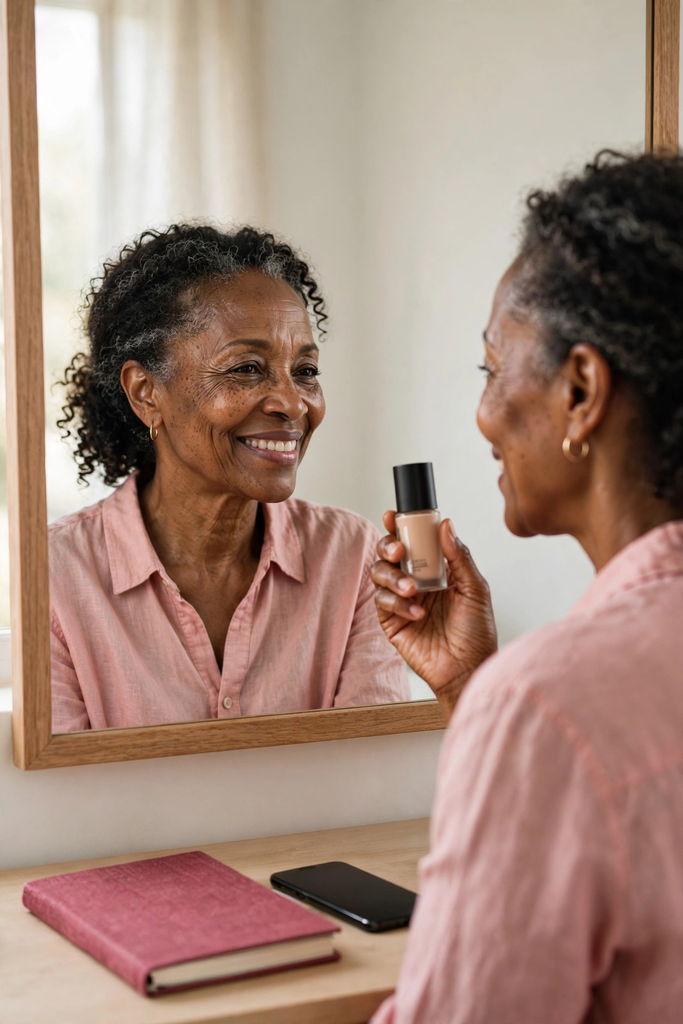
Take a photo in the same daylight spot after a week, then keep, tweak, or toss.
Change one thing, wait a week, and judge it in daylight. Small swaps add up faster than a full reset.


